Physical Address
304 North Cardinal St.
Dorchester Center, MA 02124
Physical Address
304 North Cardinal St.
Dorchester Center, MA 02124

So, you’ve decided to add poultry to your property and you’ve decided to start with eggs. Good for you! I made the same decision.
Did you know there are three things you need to do before your eggs even arrive? Those three things are:
If you want to just wing it, I totally invite that chaos into your journey. But if you’d like a higher likelihood of success, I’ll explain the 3 steps below.
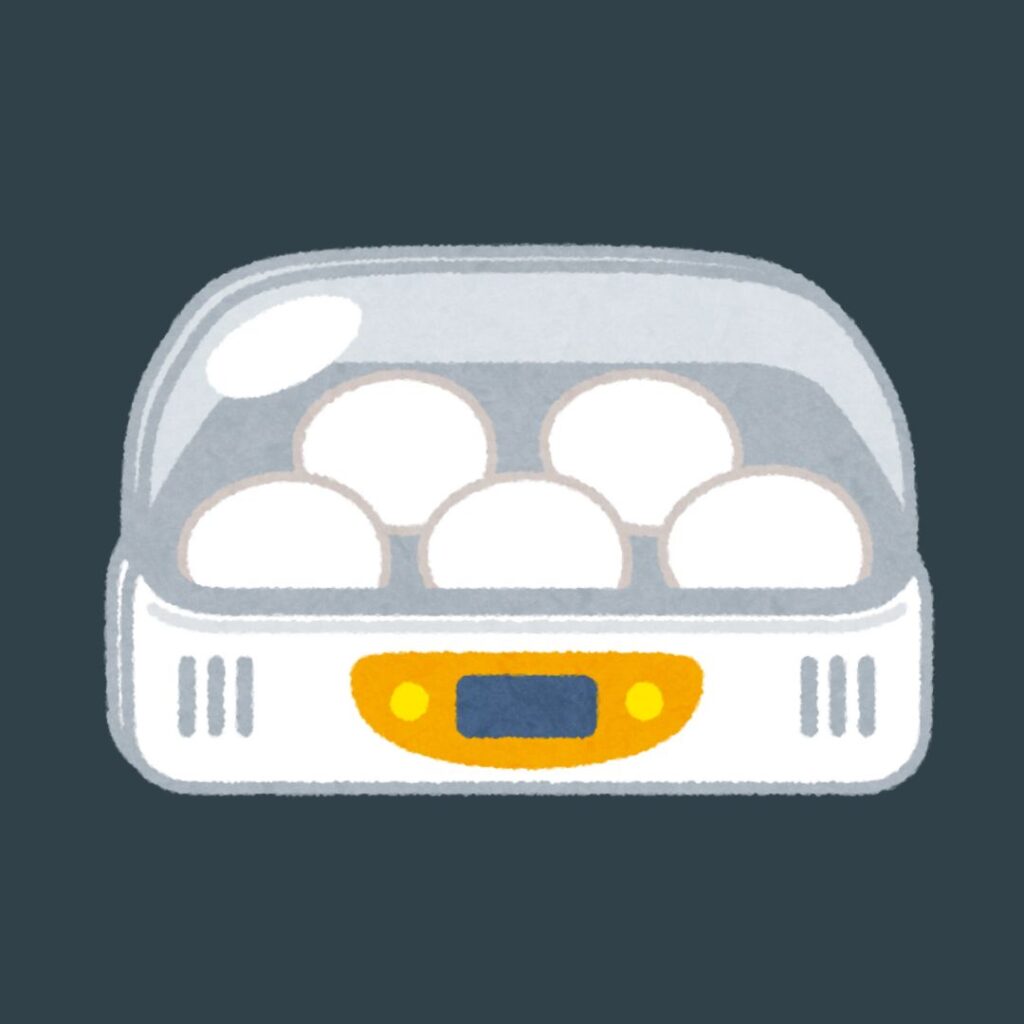
The reason I didn’t say “Buy an Incubator” is because purchasing an incubator is not the only option and it is not the right decision for everyone. Maybe you have a friend who incubates their own eggs and they’ve offered to share their incubator with you. That is a potentially free option AND your friend already knows all of the quirks of that machine! Maybe you’re super crafty, have an old mini-fridge and you want to DIY an incubator. I am so jealous of your energy and creativity! I do not have any friends with incubators and do not have the energy to be that crafty right now so I bought my first incubator and that is what I will speak to below.
When deciding what incubator to purchase there are a few different variables to consider.
The first variable is cost. The more bells and whistles you get, the more your incubator is going to cost. That being said, the more bells and whistles you get, the less time you will need to spend maintaining the unit.
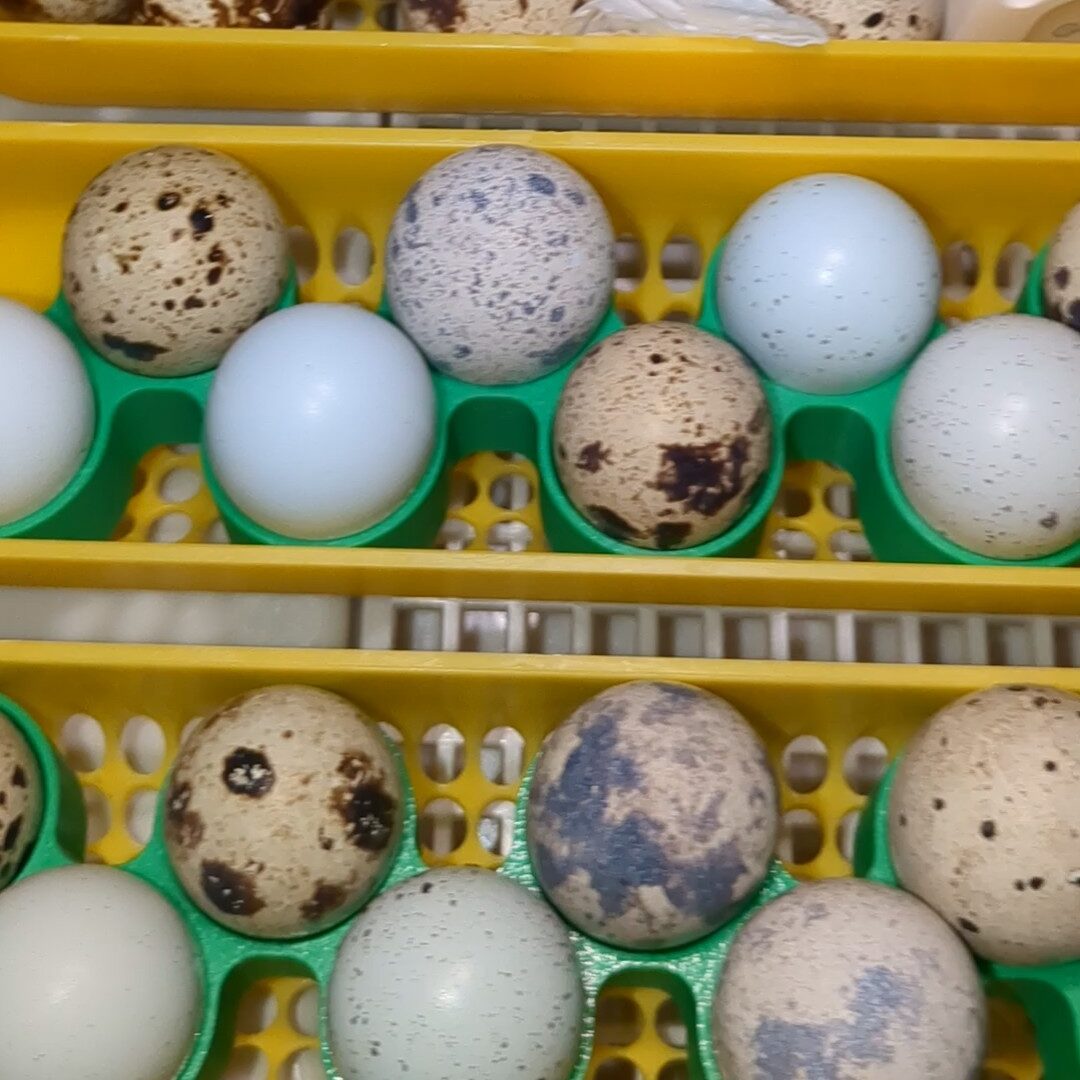
The second variable is size. Smaller incubators are often going to be less expensive, but they also incubate less eggs. I decided to go with an incubator that fits 20 chicken eggs because I know I will never want to hatch out more than 44 quail eggs at a time. There are many smaller incubators than mine, and many larger incubators available, depending on your needs.
The third variable is still air vs forced air. Still air incubators do not have a fan and, because of that, they often have more variation in temperature and humidity. As a beginner, I chose a forced air incubator because I wanted the reassurance of near perfect temperature and humidity around all of my eggs, but many people think that still air incubators produce hardier chicks. One thing is for sure, still air units are almost always less expensive.
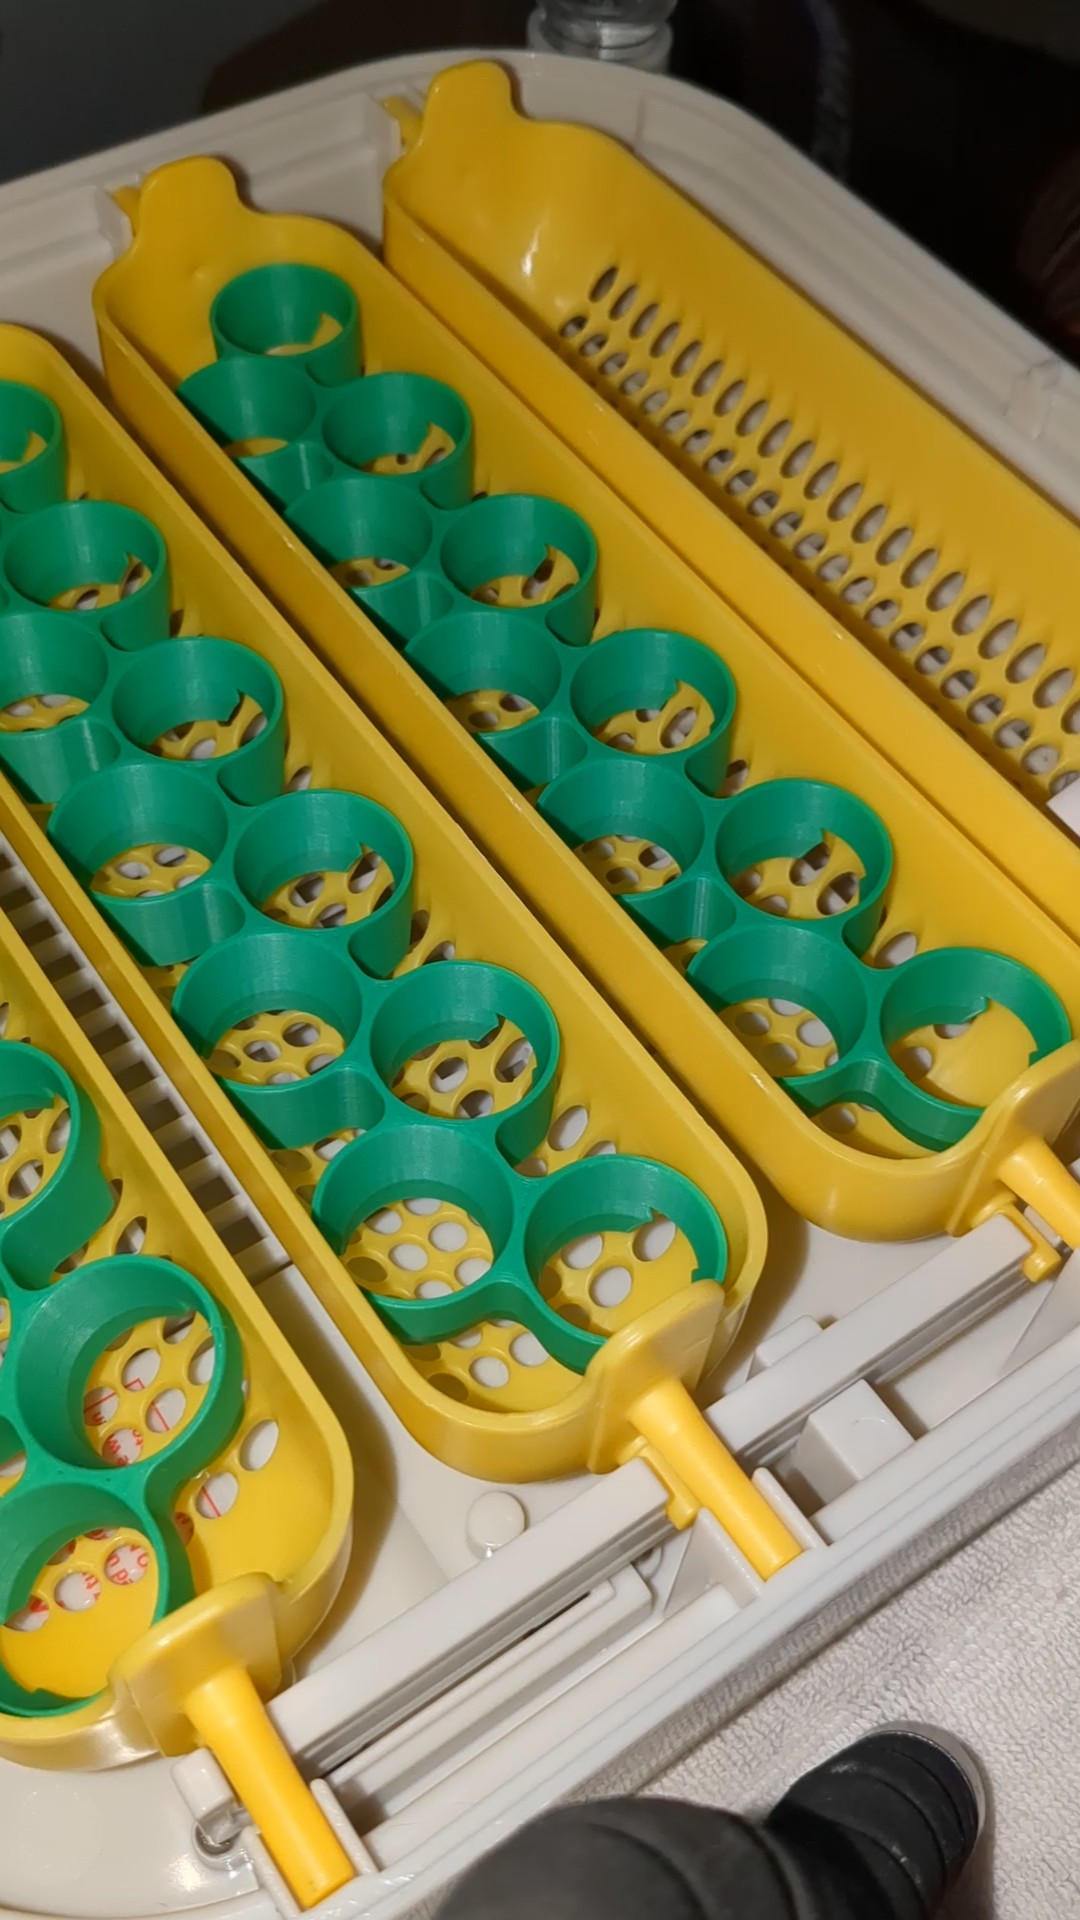
The fourth variable is egg turning. Most eggs need to be turned a minimum of three times a day. If you work from home, then you may have the time to open your incubator and turn your eggs daily. I have a 9-5 (well, technically an 8-5), so I elected to buy an incubator with an automatic egg turner.
The fifth variable is your built in thermometer. I chose an incubator with a digital thermometer that will adjust the temperature as needed while I’m at work. There are incubators out there that have a dial system for controlling temperature. A manually controlled thermometer would work better for folks who work from home because the eggs and ambient temperature influence incubator temperature throughout the incubation process.
The sixth and final variable I’ll be talking about is humidity. Some incubators have a built in automated humidity system with a pump and humidistat. This is actually the one feature I do not have on my incubator. Why you ask? Mostly because I didn’t realize this feature was available. But I do have a lot of experience maintaining humidity for animals (I keep dart frogs!) so I was comfortable enough with the lack of automation to keep the incubator I bought.
Hopefully you now feel comfortable comparing incubators and obtaining the unit that will work best for you.
Say it with me now: “You do not know where that incubator has been!” I do not care if it is brand-new still in the shrink wrap from the factory, you do not know where that incubator has been! That factory may let sparrows fly around in the rafters or may have an employee that keeps poultry at home and doesn’t wash their hands. To prevent disease and illness always sanitize your incubator. Worst case, you just did 10 minutes of extra work for nothing.
The internet has a plethora of ways to sanitize your incubator with lots of do’s and don’t’s. The first step is wash the washable parts with detergent. After that though, there is some disagreement. Some folks say spray your incubator with a 50:50 Listerine to water mixture. Some folks recommend hydrogen peroxide. Some folks say vinegar. Some folks say use bleach. The Mississippi State University Extension actually recommends nothing other than a very intense cleaning with detergent. The method of sanitation depends on your comfort level and also the material of your incubator.
My incubator is hard plastic and I decided to use bleach to sanitize my incubator. I use bleach to clean at work on a daily basis so bleach is what felt most comfortable to me. I followed the Penn State Extension’s recommendations and I sanitized my incubator with a 25% bleach solution. The University of Missouri Extension office recommends a much lighter concentration of bleach: 1 teaspoon of bleach per gallon of water.
Once again, there is no set sanitation method for all incubators, so do a little bit more research and choose the method that works best for you.

Your incubator is clean! Is it time to add the eggs yet? The answer to that question is no.
Before adding eggs to your incubator you are going to want to let the incubator run for a minimum of 24 hours, but preferably two to three days, before adding your eggs. This time will allow you to monitor the temperature and humidity in your incubator and make any adjustments as needed.
One of the most common adjustments that folks need to make is changing the incubator temperature. Often the calibration of the main unit will falter after multiple uses and you will find a more accurate reading on a secondary thermometer so the main unit should be adjusted to make the secondary thermometer hit the sweet spot. Another common finding while testing an incubator is that certain corners or sides of the incubator are not true to temperature or humidity. To adjust for that finding you may decide to insulate the problematic corners with a blanket or you may decide not to put eggs in those spaces.
From testing my incubator I learned that I need to open the air vent a bit more during incubation to keep my humidity in the safe range for my eggs. I also learned that the humidity is higher above the water reservoir (makes sense) so I decided not to put any eggs in that corner.
Now! Now you are finally ready to add eggs to your incubator. But that is another article for another day.
Good luck!
Online Resources:
Products I use:
If you’re interested in the exact products I’m using you can see the list below. I am an Amazon Associate so I will make a small commission if you buy any of the Amazon listed items. I really recommend looking for products at your local family owned farm store and asking the professionals who work there what they recommend.