Physical Address
304 North Cardinal St.
Dorchester Center, MA 02124
Physical Address
304 North Cardinal St.
Dorchester Center, MA 02124

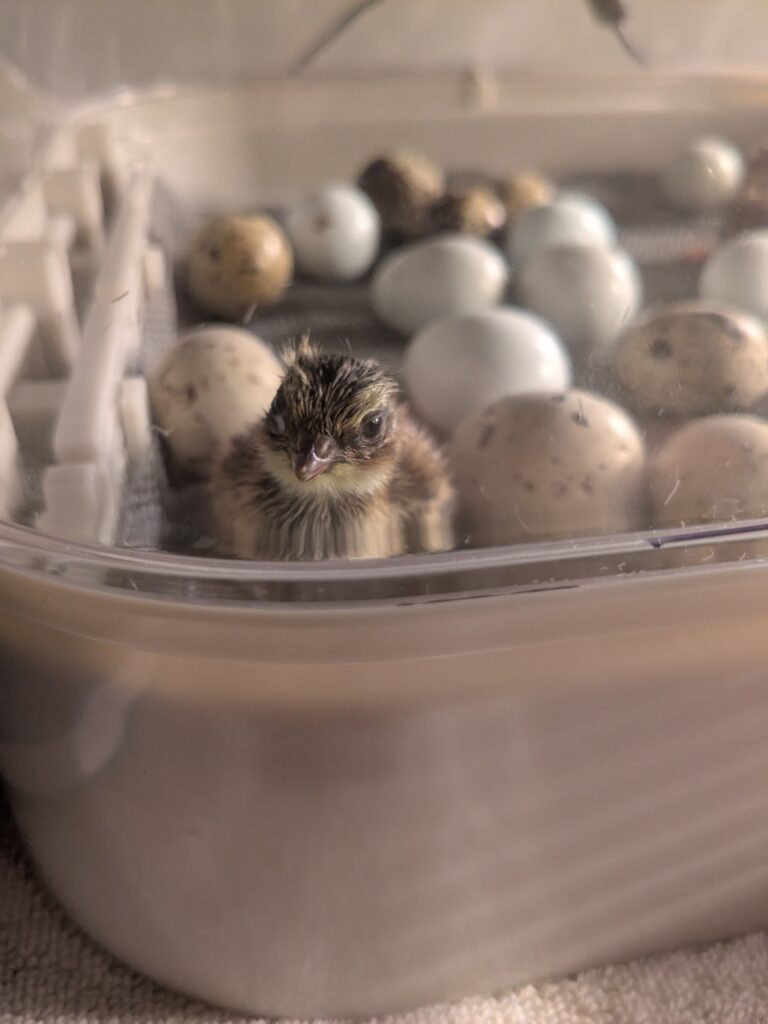
Once your chicks hatch, you will need to have a place for them to go. That place is called a brooder. The brooder keeps the chicks safe and warm while they grow in size and also grow in in their adult feathers.
Building a basic brooder is relatively simple:
It can be exactly that easy, or you may put a little bit more energy and thought into it depending on what your goals are.
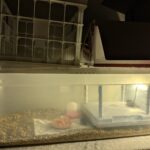
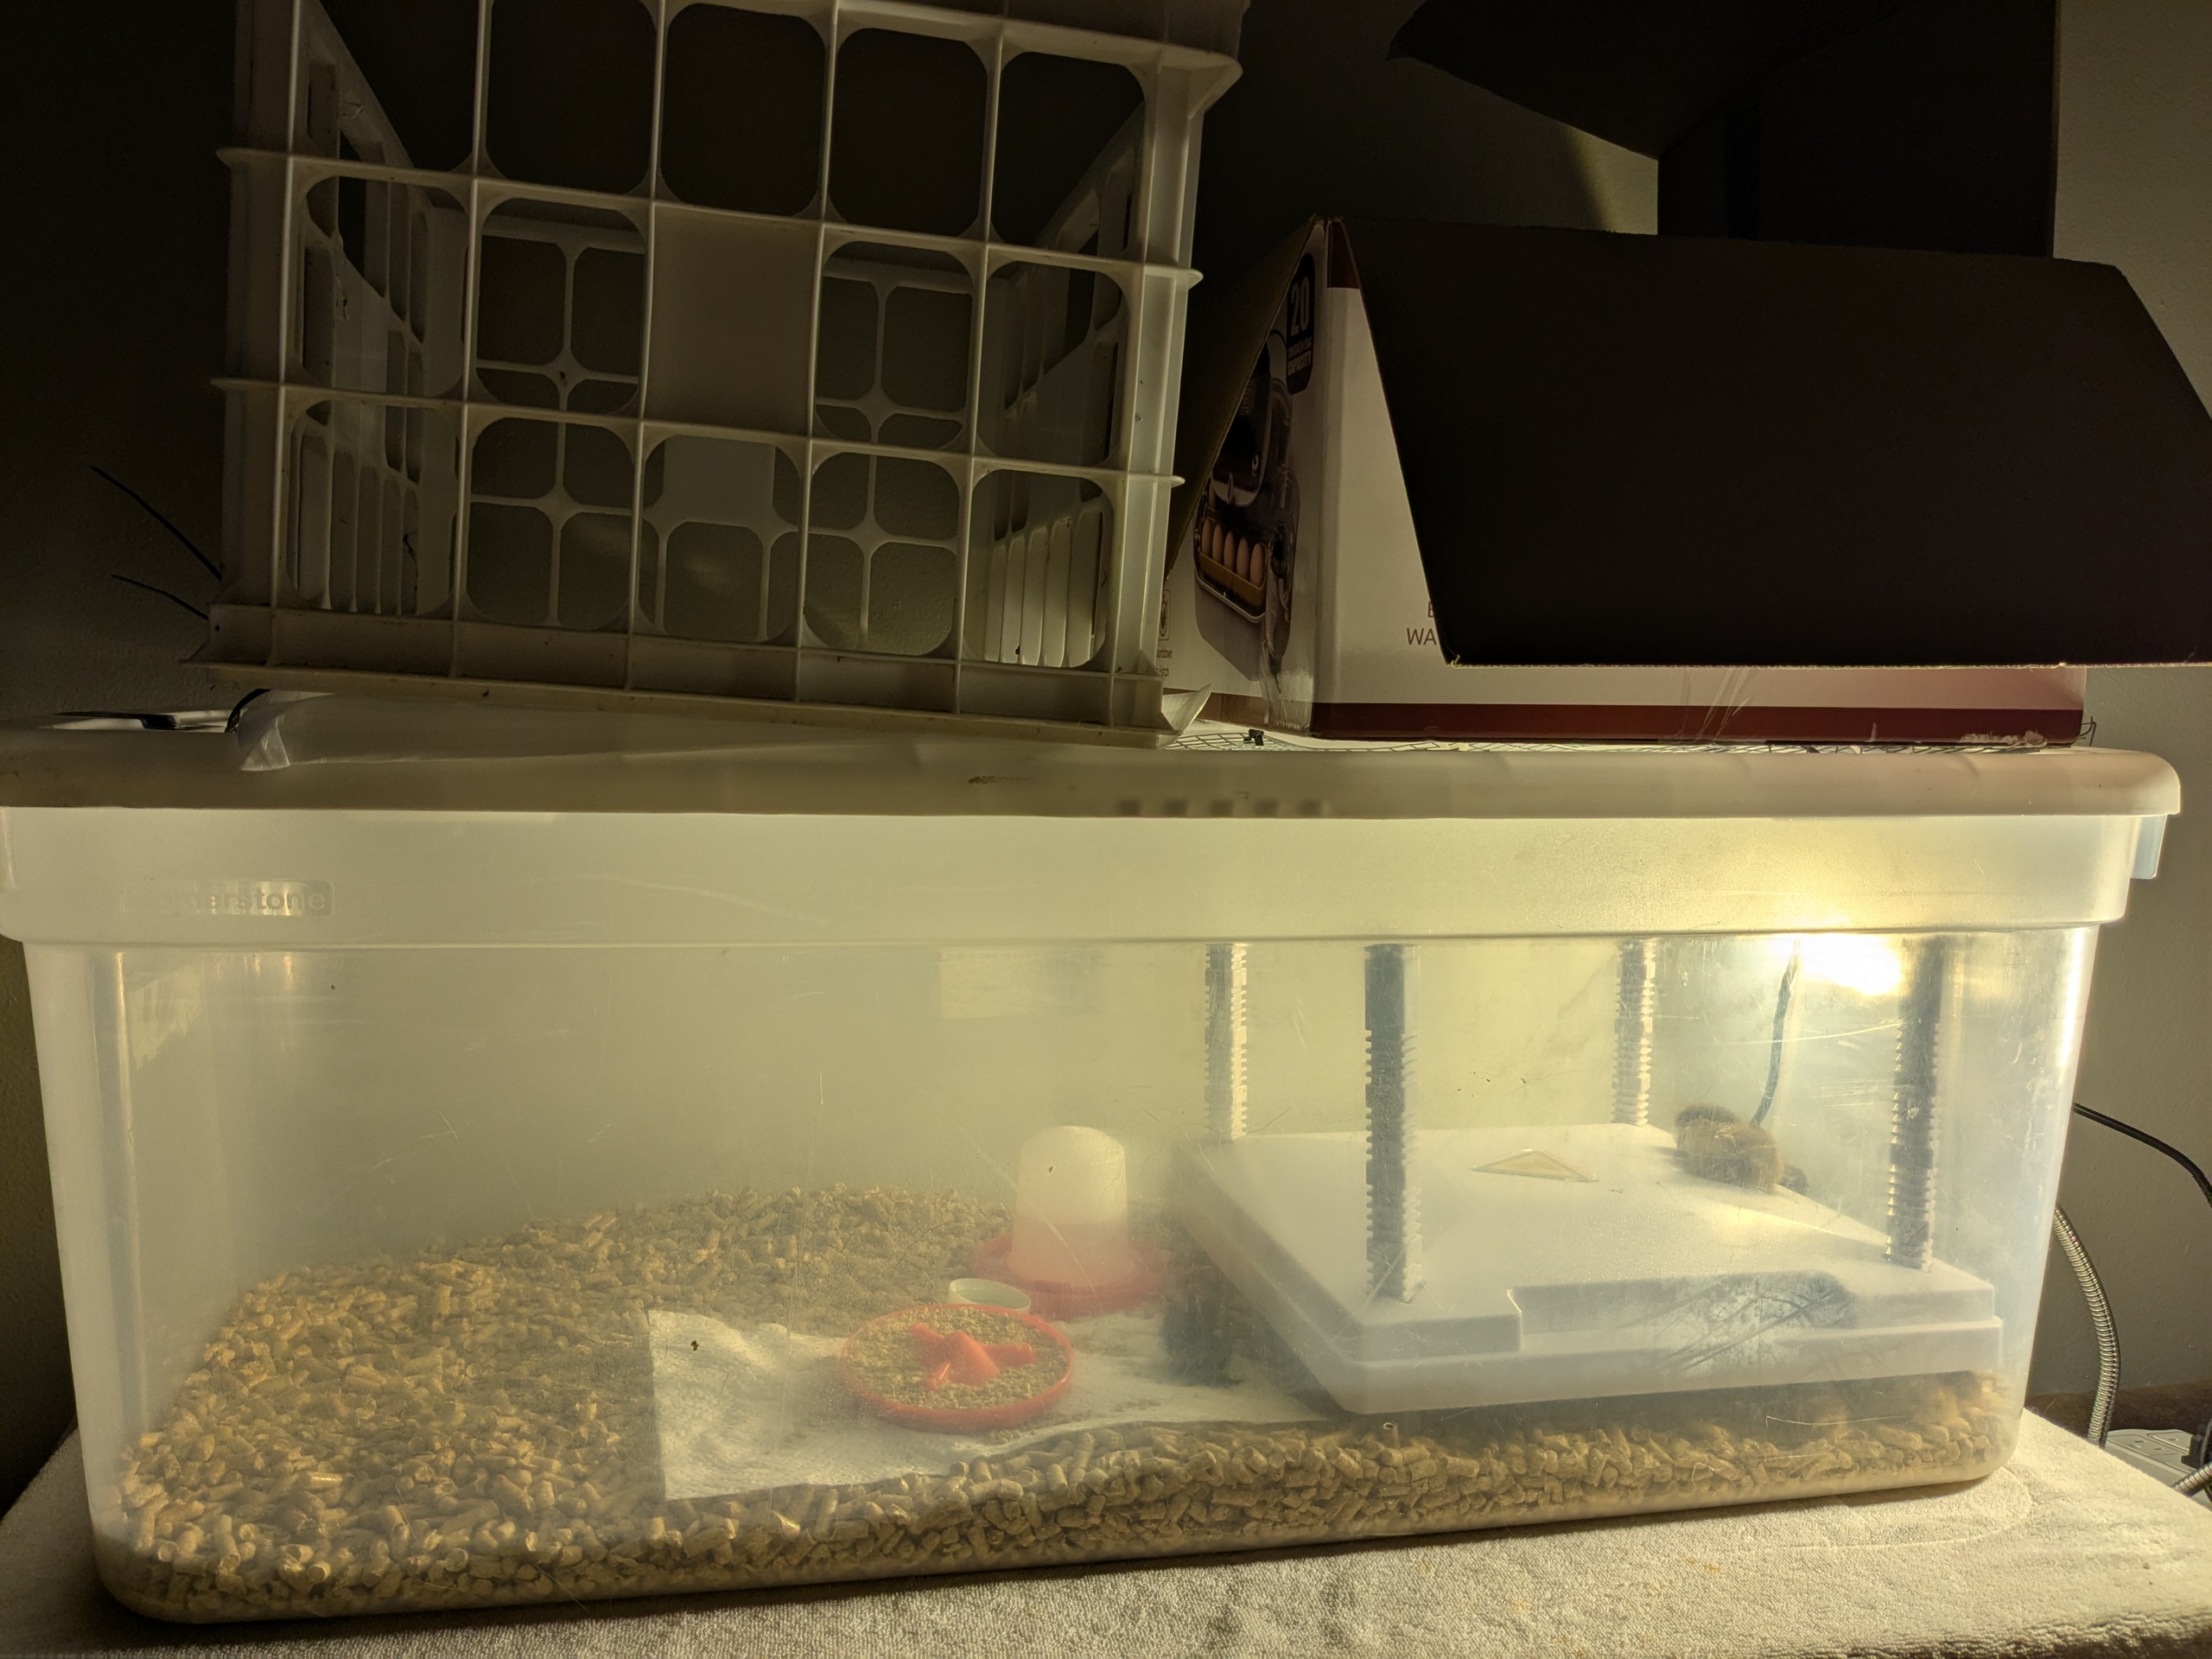
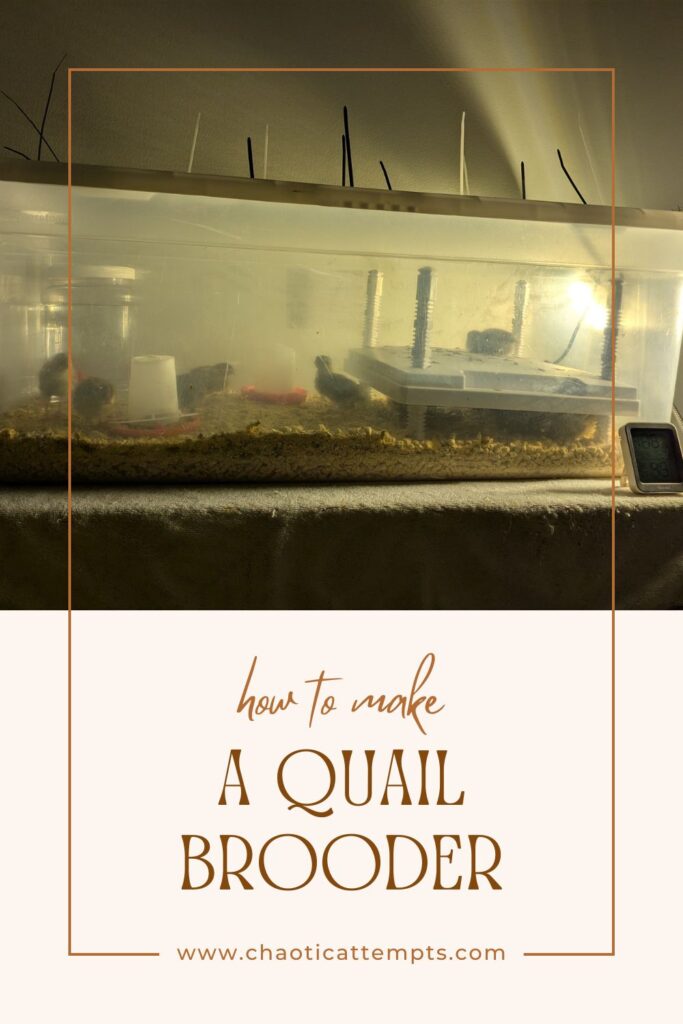
My goal was a brooder for up to 18 quail chicks to spend the first 3 weeks of their life in. It needed to be tall enough to accommodate 2 inches of substrate, feeders, waterers and the brooder plate. It needed to be wide enough to accommodate the 18 chicks. the brooder plate and the food and water. The recommendation for quail chicks is 6 chicks per square foot so I needed a box that was at least 3 square feet. Because I planned to use a brooder plate and not a heat lamp the box could be any material. I decided on a 25 gallon clear plastic tote.
So, now it’s time for you to make your own brooder.
Step 1: What are you brooding?
The species you are brooding and the time they need to stay in the brooder will determine how big your brooder needs to be. Some birds are ready to go in as little as 3 weeks while others need to be in a brooder for upwards of a month. I’ve included the starter brooder sizes below:
Step 2: What is your substrate?
Common brooder substrates include:
The type of substrate you use will depend on what you are brooding and what suites your needs best. For example, waterfowl benefit from deep, extremely absorbent substrate. If you need a deep substrate you may need a taller brooder.
Step 3: How will you be heating the space?
Will you be using a heat lamp or a heat plate?
Both are valid options, but if you use a heat lamp you will need a stand for the light bulb. I don’t recommend using a plastic tote when using a heat lamp because the potential for melting your brooder is much higher. If you choose a brooder plate you will need to make sure your brooder is wide and tall enough to accommodate the plate.