Physical Address
304 North Cardinal St.
Dorchester Center, MA 02124
Physical Address
304 North Cardinal St.
Dorchester Center, MA 02124


When you’re starting your quail journey you’ve read a lot of “No” from many of the “experts” on the internet. I am here to tell you that I am not one of those experts. I am not any kind of quail expert! I have only recently started my journey, just like you.
That being said, I did read a lot of articles, watched a lot of videos, and did a lot of research before I took the plunge into quail keeping. The biggest barrier I faced prior to buying the tiny tornadoes was the coop.
Quail are most often kept in hutches, aviaries or stacked cages. Unless the birds are in an aviary, the hutches and cages are usually mounted off the ground. I decided before I started my quail journey that I did not have enough space for an aviary, but that I really wanted my birds on the ground. I wanted them to be able to find bugs in the soil and potentially little sprouts of weeds or grass.
My choice to have a small coop on the ground was a problem because such coops didn’t seem to be easily accessible. They were all custom made for hundreds of dollars or I had to build it myself, which, frankly, I did not have time to do.
The other option was to buy a pre-made chicken coop. There are lots of pre-made chicken coops out there for under $300. But the experts on the internet said this was a terrible idea! The quail would “never” use the ramp into the coop area and the run was too high.
For those who don’t know what I mean when I say the run is to high, I mean that quail “flush” when they spook. A flush is basically a super powered jump which means they leave the ground with speed. When your quail enclosure is less than 18 inches high that is considered a safe height because the birds can’t gain enough speed to injure themselves on the ceiling. When your enclosure is more than 6 feet in height that is also considered safe because the birds start to lose momentum and slow down. The height between 18 inches and 6 feet is considered the danger zone where the quail could break their necks by simply flushing into their ceiling at speed.
Anyway, back to my dilemma, the coop issue was resolved when a friend of mine offered me their old chicken coop. It was a simple coop from either Amazon or Walmart, but it was free and that made it the right option for me.
The coop still presented with the issues of other chicken coops though. It had a ramp to a higher level and the run was 27 inches tall, right in the danger zone.
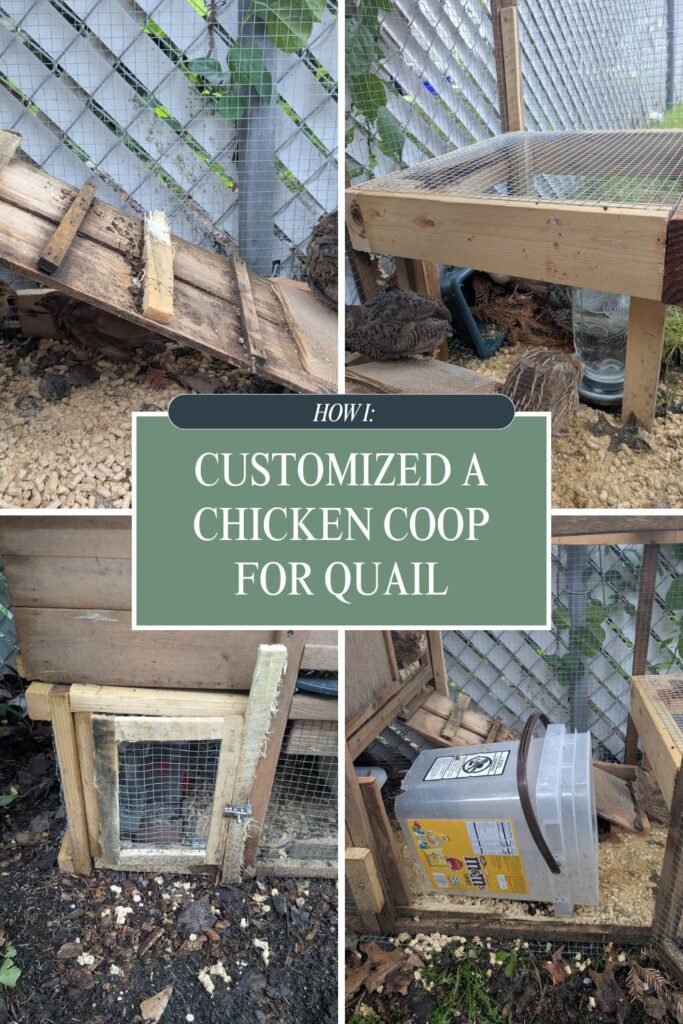
So, I decided to modify it!
I went to the hardware store and bought some new screws, 1/2 inch hardware cloth, hinges and a small bolt latch.
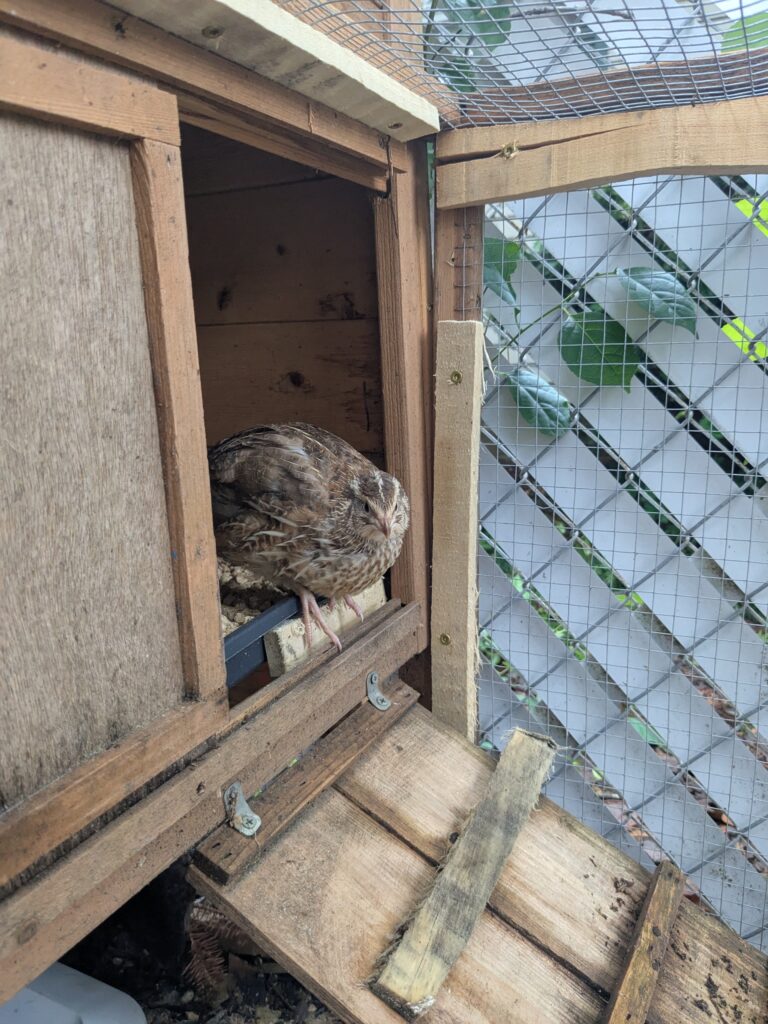
The first thing I did to modify my coop was add an addition. If quail love to be on the ground so much I wanted to give them as much space as possible. To make the addition I just walled in the space under the chicken nest box and added a mini door. This added about 2 square feet of extra space to my coop.

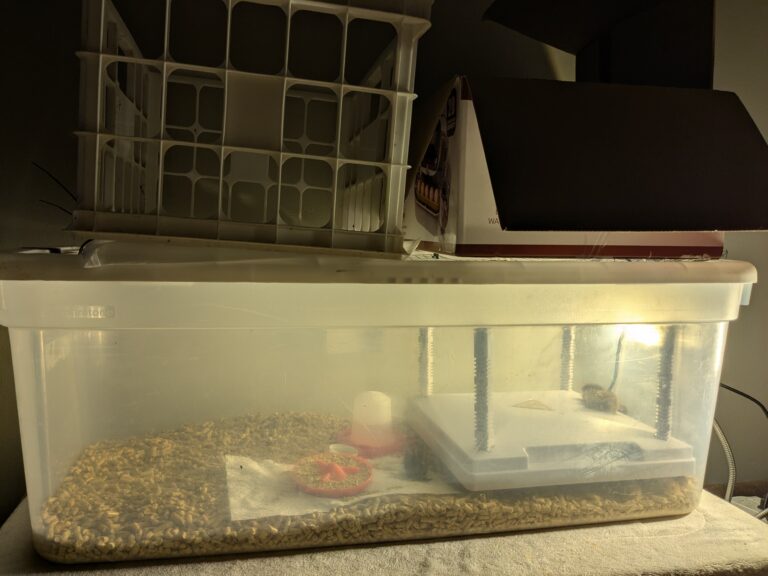
The second thing I decided to do was address the height of the run. My quail chicks loved jumping on top of their heat plate in the brooder so I made a hardware cloth “table” for the tallest part of the run. The table is 13 inches tall, which cuts the height of the run in half, and the quail can choose to hang out below it or on top of it. So, I’ve eliminated the threat of flushing in that spot and I added extra space for the birds to spread out and enjoy themselves.

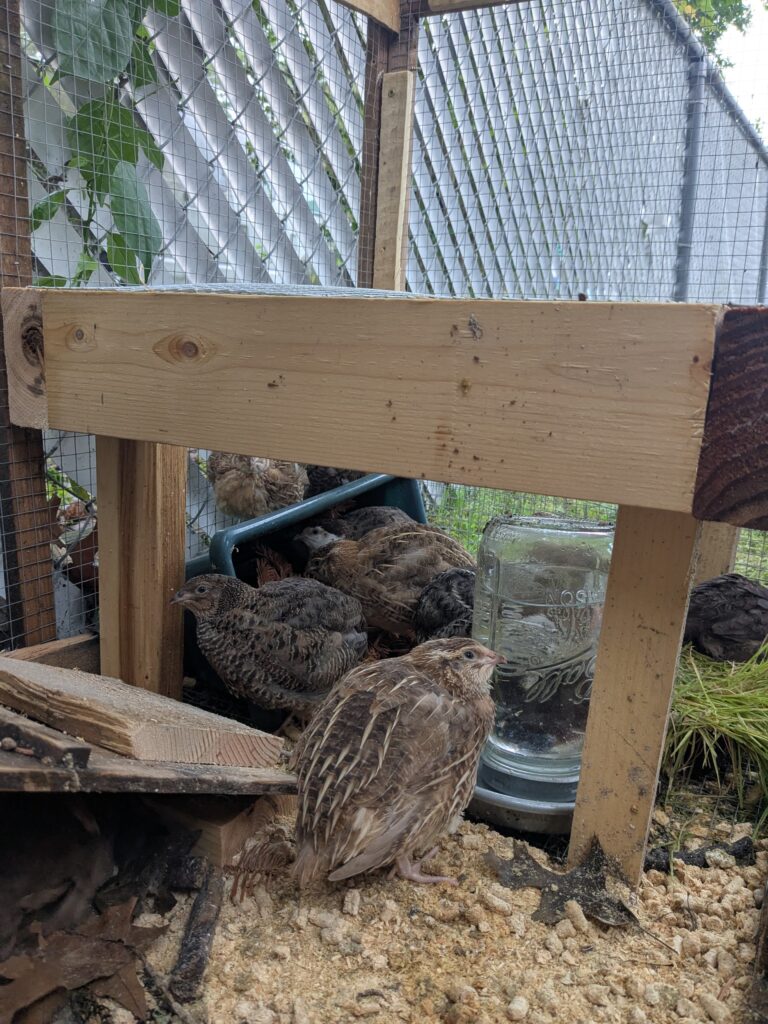
With the table in place, there was still the area next to the ramp that was in the danger zone height-wise, so I added a plastic bucket as a fun tunnel in that location. The bucket keeps the birds from flushing straight up and they seem to love to run through it.

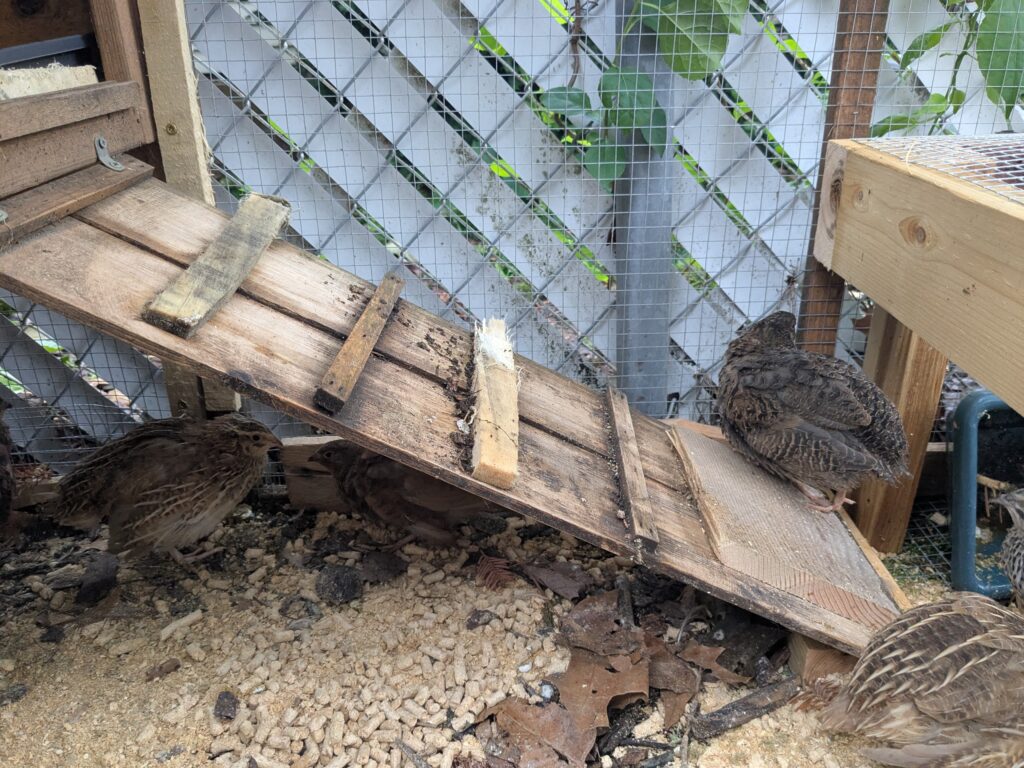
Now, the ramp. I originally left the ramp as-is just to see if all the nay-sayers were correct and that the birds would not use it. I found that they were kind-of correct. I watched my birds try to use the ramp but the ramp was steep and the steps were made for chickens so they kept sliding down between steps. To fix this, I added some more steps! I just screwed thin pieces of scrap would directly between the pre-installed steps and within 10 minutes I saw birds exploring the new area.
Finally, the last modification I made is not something I’ve previously pointed out. I added 1/2 inch hardware cloth to the bottom of the entire coop as a “floor.” This floor was installed to keep the local wildlife out of my coop. I live in an urban environment but we still have rats, foxes and raccoons and quail are a tasty treat for all. The hardware cloth has made it hard to clean so unfortunately, I’ve had to add my own substrate, but it is worth it to me as a security feature and wild worms, crickets and other bugs can still find their way into my quail space if they want to.
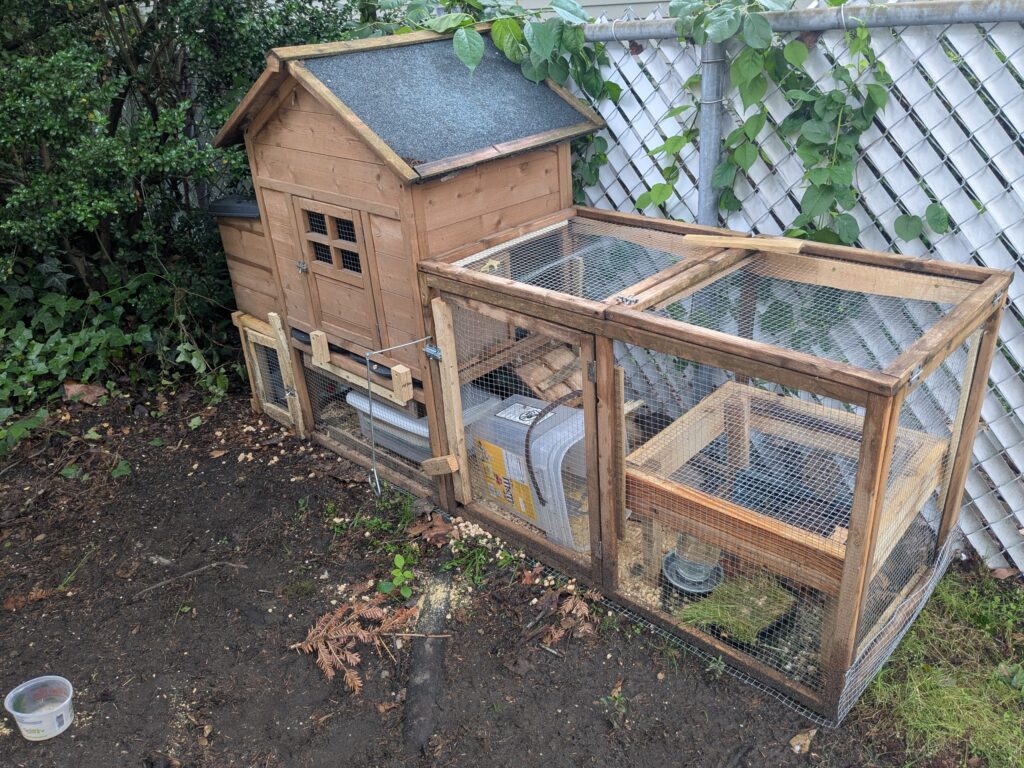
So, that’s my coop!
I hope that you’ve enjoyed learning about how I created my quail space and I hope that it has given you some ideas for your own space.
Quail are chaotic, but I am so happy to have them as a part of my little urban homestead.
Products I mentioned in this post:
I am an Amazon Associate and that is reflected in the below affiliate links. I will make a small commission if you purchase the below books with my affiliate link. That being said, I highly encourage you to check out your local feed or pet store instead.