Physical Address
304 North Cardinal St.
Dorchester Center, MA 02124
Physical Address
304 North Cardinal St.
Dorchester Center, MA 02124

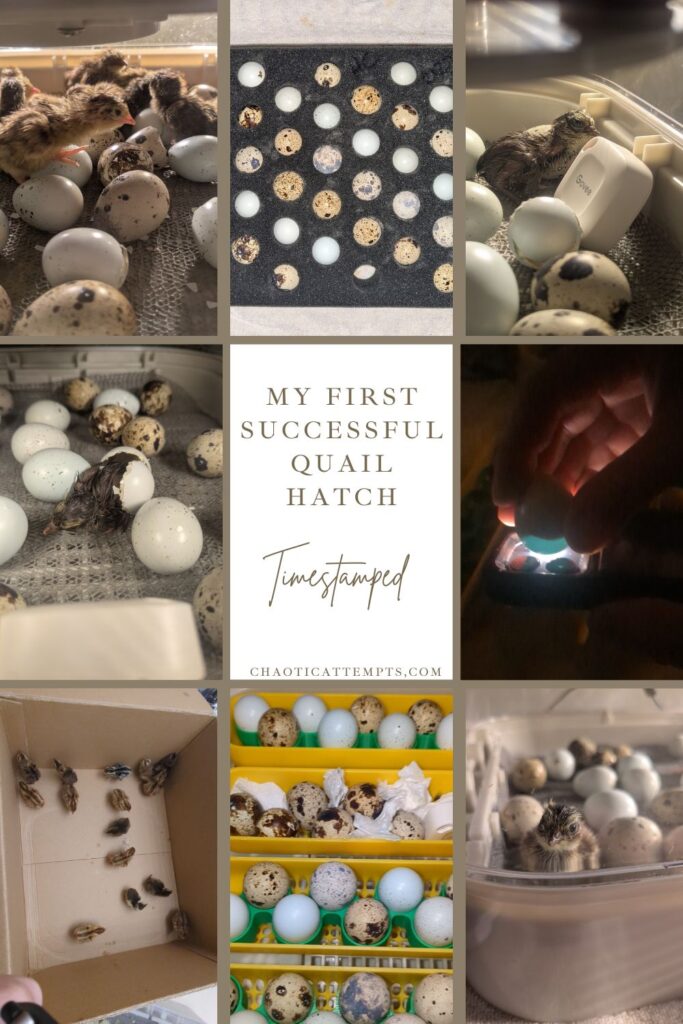
After lots of careful thought, I decided to bring Coturnix quail into my home to increase my self-sufficiency and decrease my carbon footprint. I decided to start with hatching eggs and I recorded the whole process from start to finish. The following article is more of a time-stamped journal entry (with pictures!) to provide others with an idea of what to expect when hatching quail eggs for the first time.
On the 9th of April I finally had my incubator, quail egg adapters and Govee thermometer, so I sanitized all of my incubating equipment using a 25% bleach solution and I set up the incubator. I let the incubator run for 3 days before the eggs arrived in order to test the temperature and humidity readings in every corner of the machine. By the 12th I was convinced that the incubator did accurately hold temperature and humidity. Special note: according to my Govee the temperature did fluctuate each time the egg turners turned, I think this had to do with which direction the sensor was facing and I decided it did not concern me.
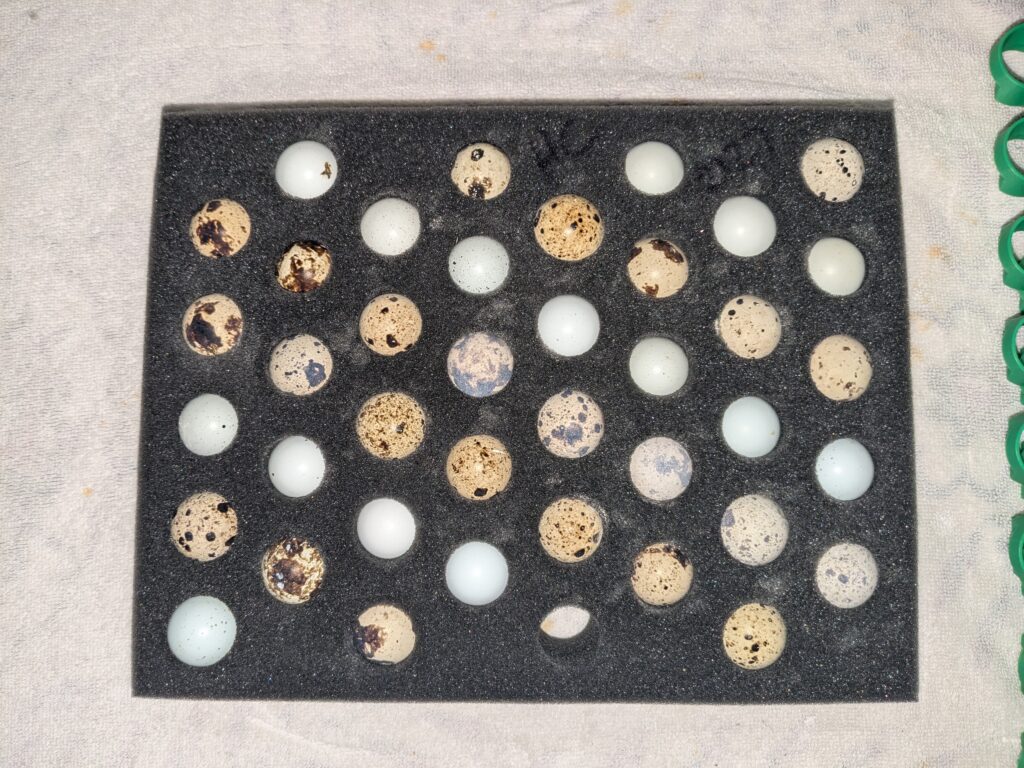
On April 12th, my eggs arrived via USPS! I was so incredibly excited. The box was labeled “fragile” on one side, but it did not have any labels that said “Live Hatching Eggs” so I was a bit worried that it may have been shaken. Inside the box I found a variety pack of 40 quail eggs snug as a bug in a black foam shipper.
The first thing I did was take the foam shipper out of the box and carefully inspect the eggs for any cracks. I found one egg with a crack in it so I discarded that one. Then, I placed the foam shipper with the eggs still in it on a trunk next to my incubator. I let the eggs rest in the foam pointy side down for 24 hours.
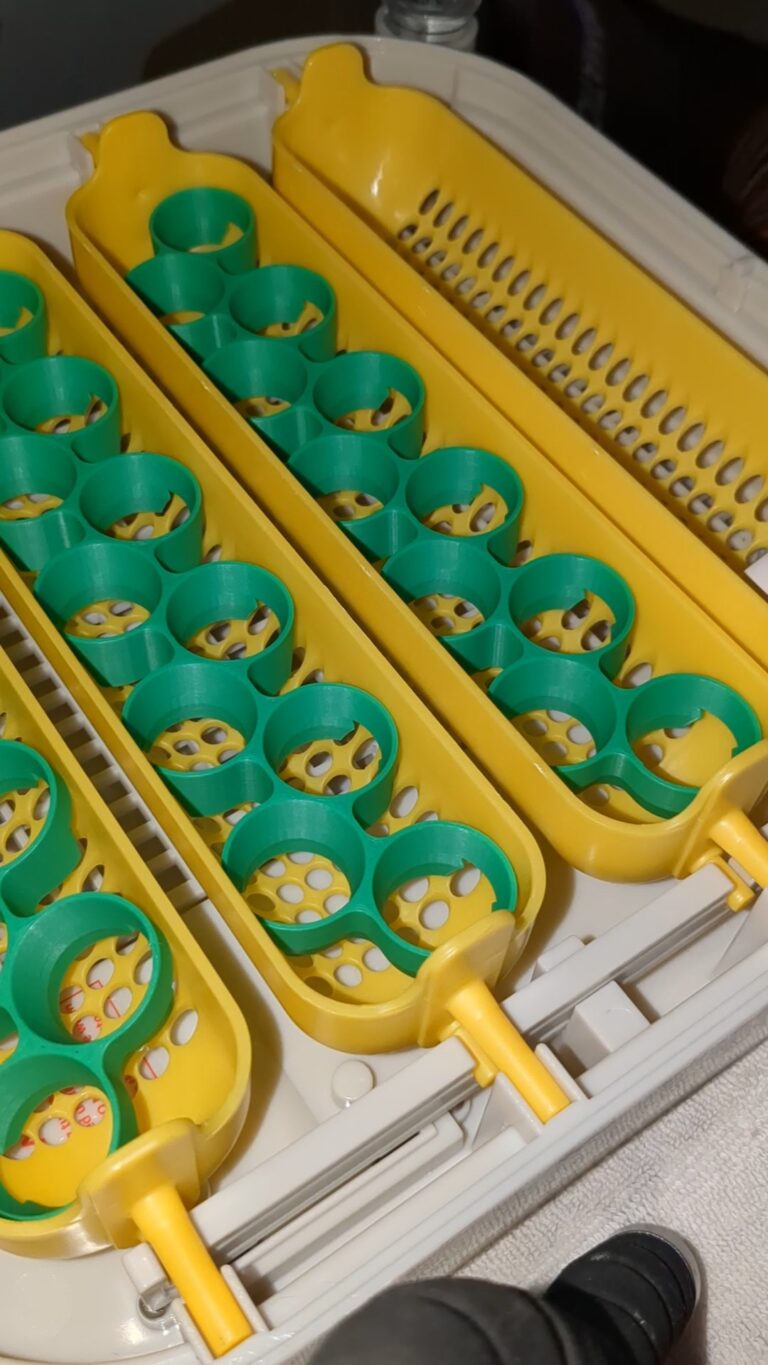
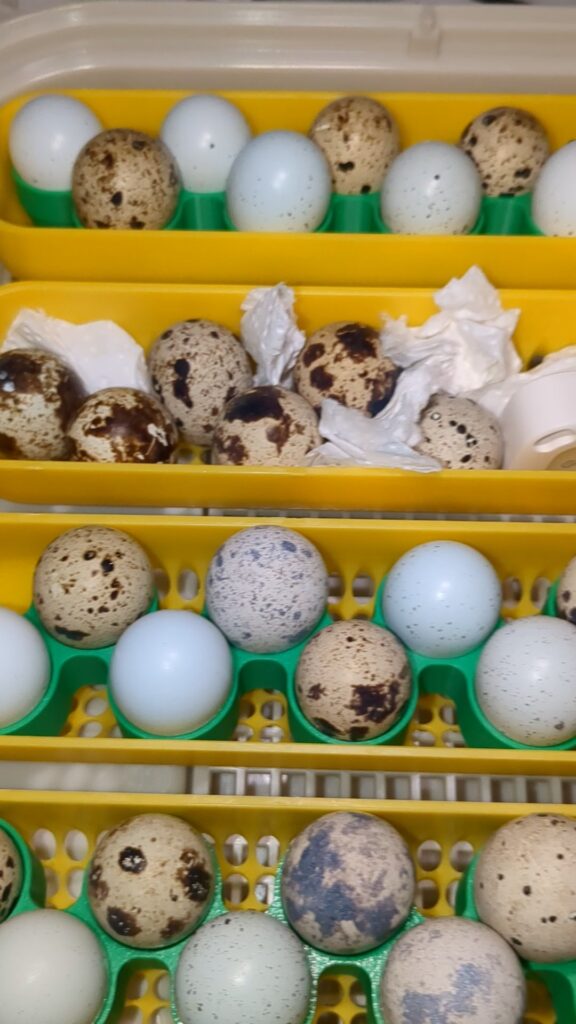
After 24 hours, I carefully removed each egg from the foam shipper, gave it a more thorough inspection for cracks, and placed it in my incubator. I have a Maticoopx 20, and with my quail egg adapters from Etsy, the eggs sat vertically in the eggs turners. In order to have the best chance of success all of the eggs were placed in the eggs turners pointy side down. Some of the eggs were too jumbo for the adapters so I used pieces of paper towel to secure them in the eggs turners.
By noon on April 13th all of my eggs were secured in the incubator so I counted that date as Day 1. If I had placed the eggs in the incubator in the evening of that day then the 13th would be Day 0. After the eggs were secure and the incubator was on I changed the day counter from 21 days for chickens to 17 days for quail. And then I waited.
You can watch how I loaded my incubator here.
While I was waiting for lock down day (Day 15), I discovered that my home is much more humid than I thought it was. My goat humidity for incubation was 42% but I really couldn’t get my humidity below 45%. Thankfully, depending on the source you’re using, some folks say you can go up to 50% or even 60% humidity during incubation, so I felt 45-49% was acceptable. I think that I will attempt a dry hatch (no added humidity) the next time I want to incubate eggs and see how my humidity fairs without added water.
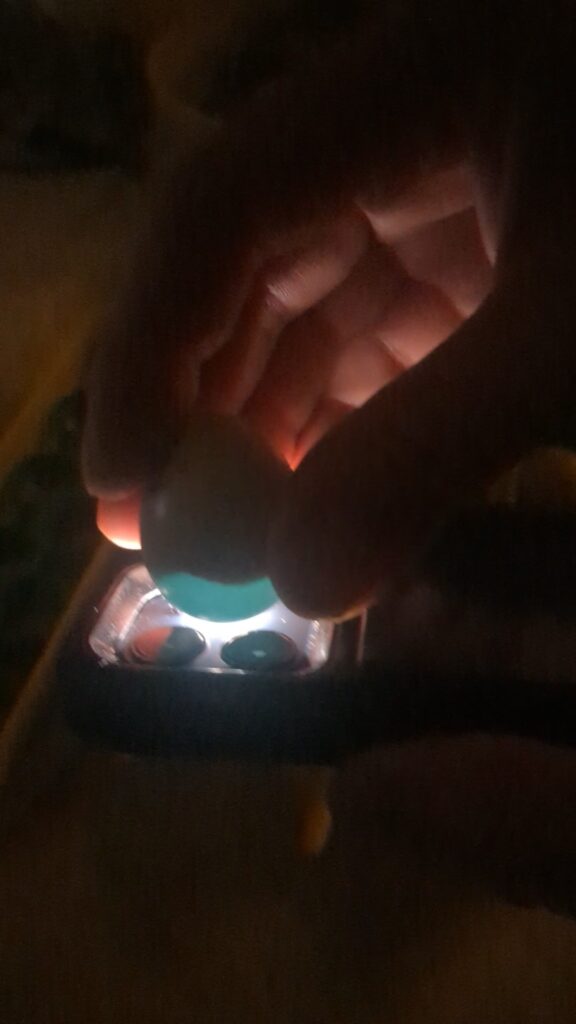
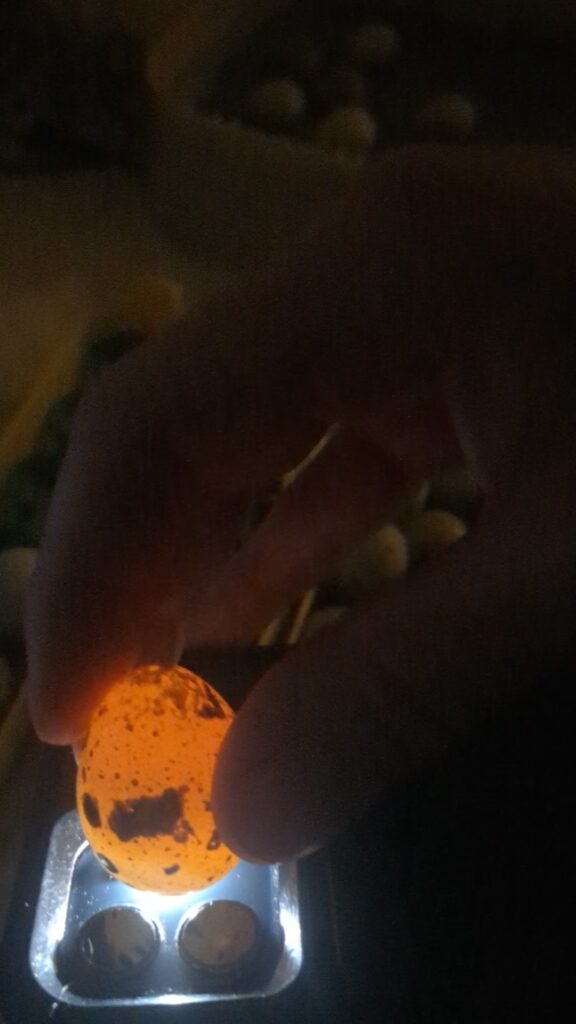
On day 7 (April 19th) I couldn’t stand it any more and candled one row of my eggs. Six out of nine were developing! I candled another row on the 23rd and and another row on the 24th. In general, some eggs were developing well and others were not. I used the flashlight on my Pixel 6a and on my partner’s iPhone to candle the eggs. I’ve heard that folks often have trouble candling quail eggs, but I did not have any problems candling the celadon or “normal” eggs with a smartphone flashlight.
Finally, on April 27th, it was day 15 which is lock down day for Coturnix quail. I took all of my eggs in their eggs turners out of the incubator, filled the extra reservoir in the incubator to increase the humidity and put down a custom cut piece of shelf liner on the bottom of the machine.
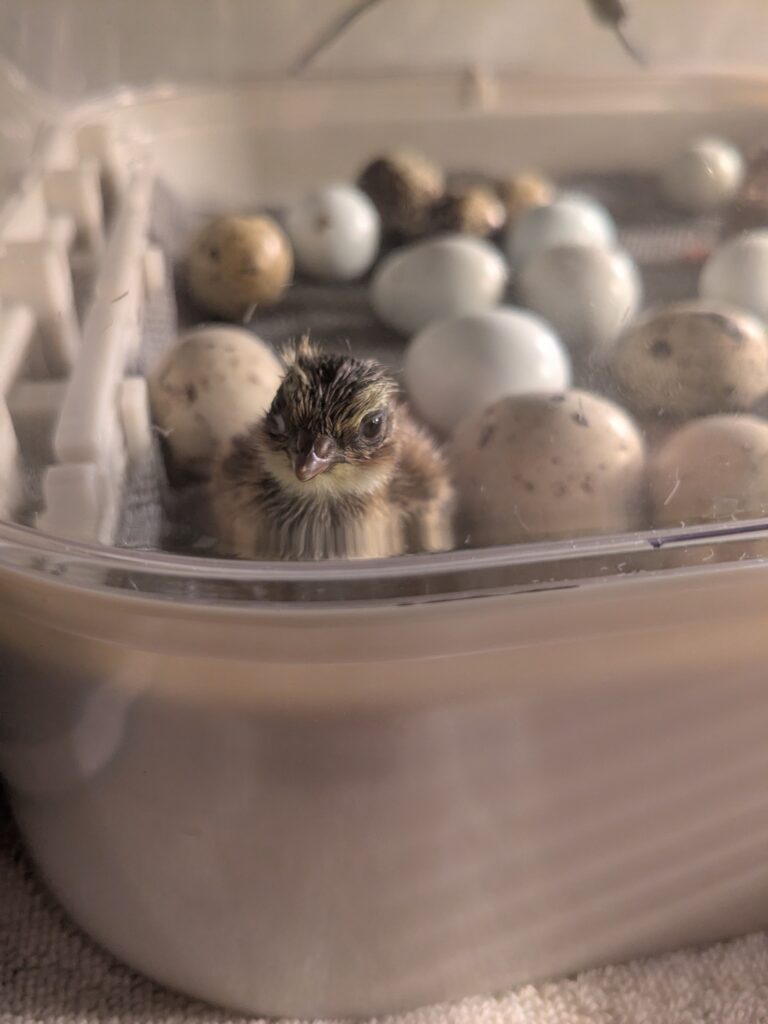
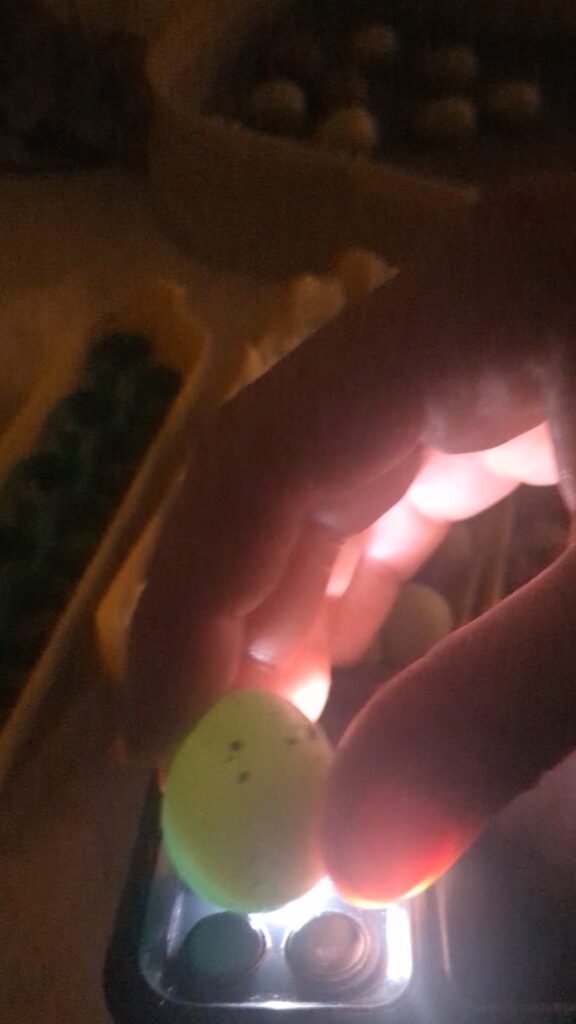
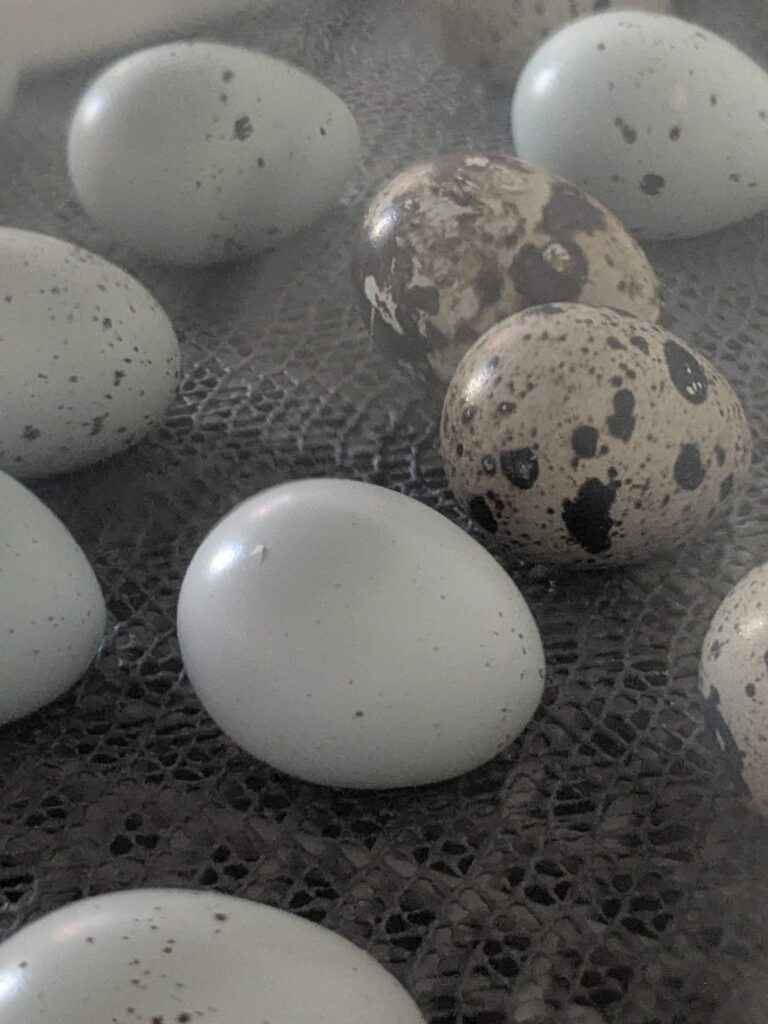
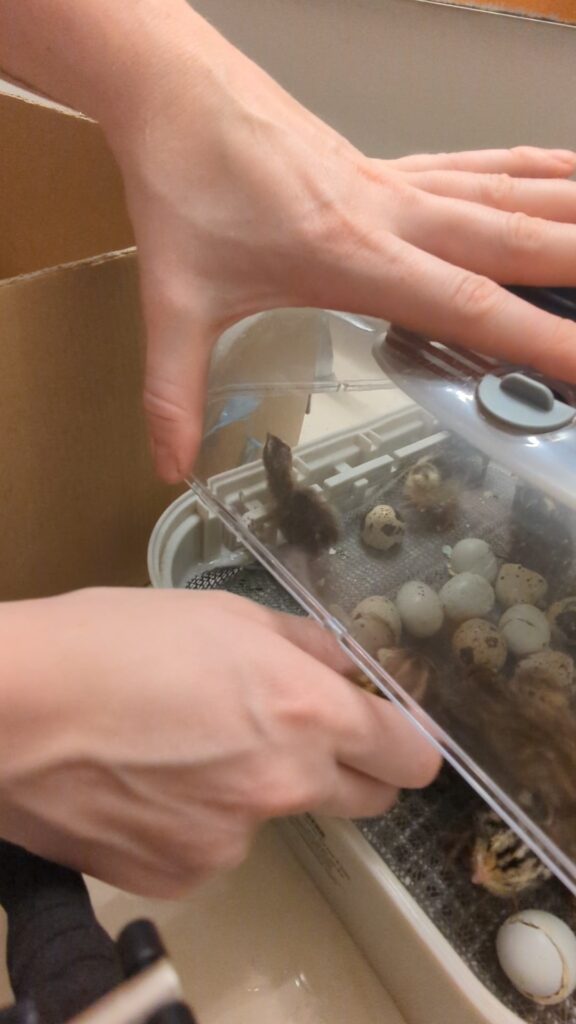
While the eggs were out I candled each and every one. Every single egg showed signs of some level of development which means the eggs I received had a 100% fertility rate. Of the 39 eggs I put in the incubator, 16 eggs did not surpass early embryonic development. There are many things that can cause early embryonic death but my theory is that the box was shaken just a little bit too much during shipping.
This was my first experience hatching eggs in an incubator so I was not confident in spotting a blood ring or late embryonic death. With that in mind, 23 eggs went into the incubator for lock down. This is one of the few times in life when the saying is “When in doubt, don’t throw it out.”
During lock down, you do not open the incubator for any reason until your birds have hatched. The reason for this is that the humidity needs to be increased to 70-75% and opening the lid decreases that humidity at a rapid rate. For me, lock down was the true test of my patience.

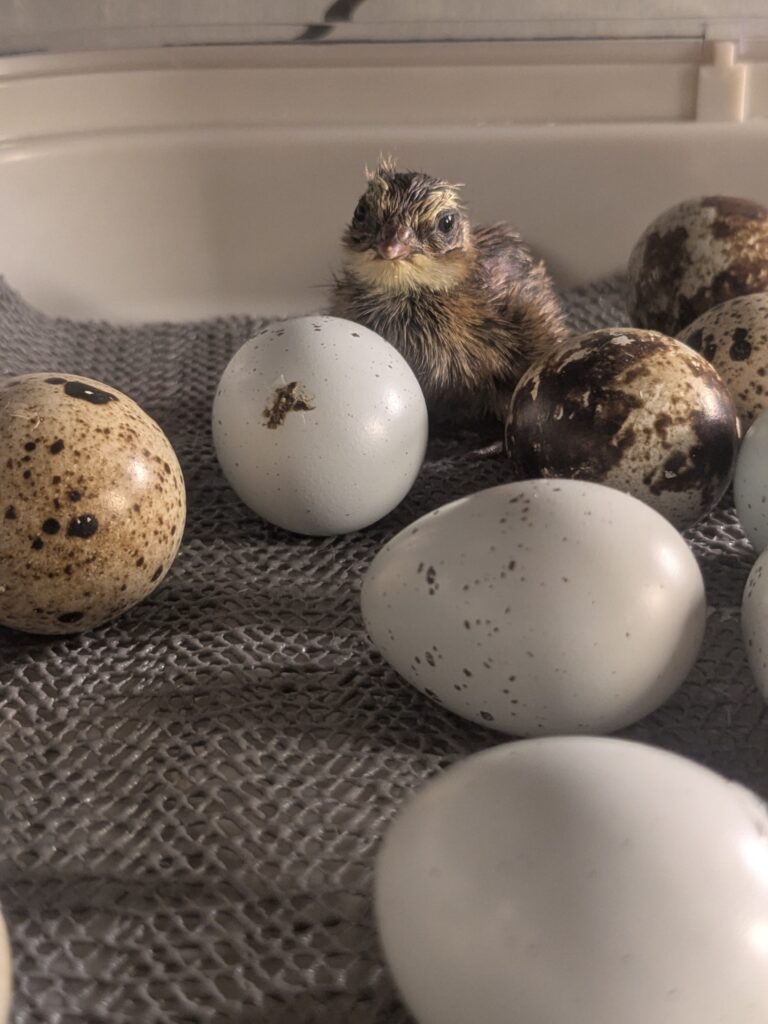
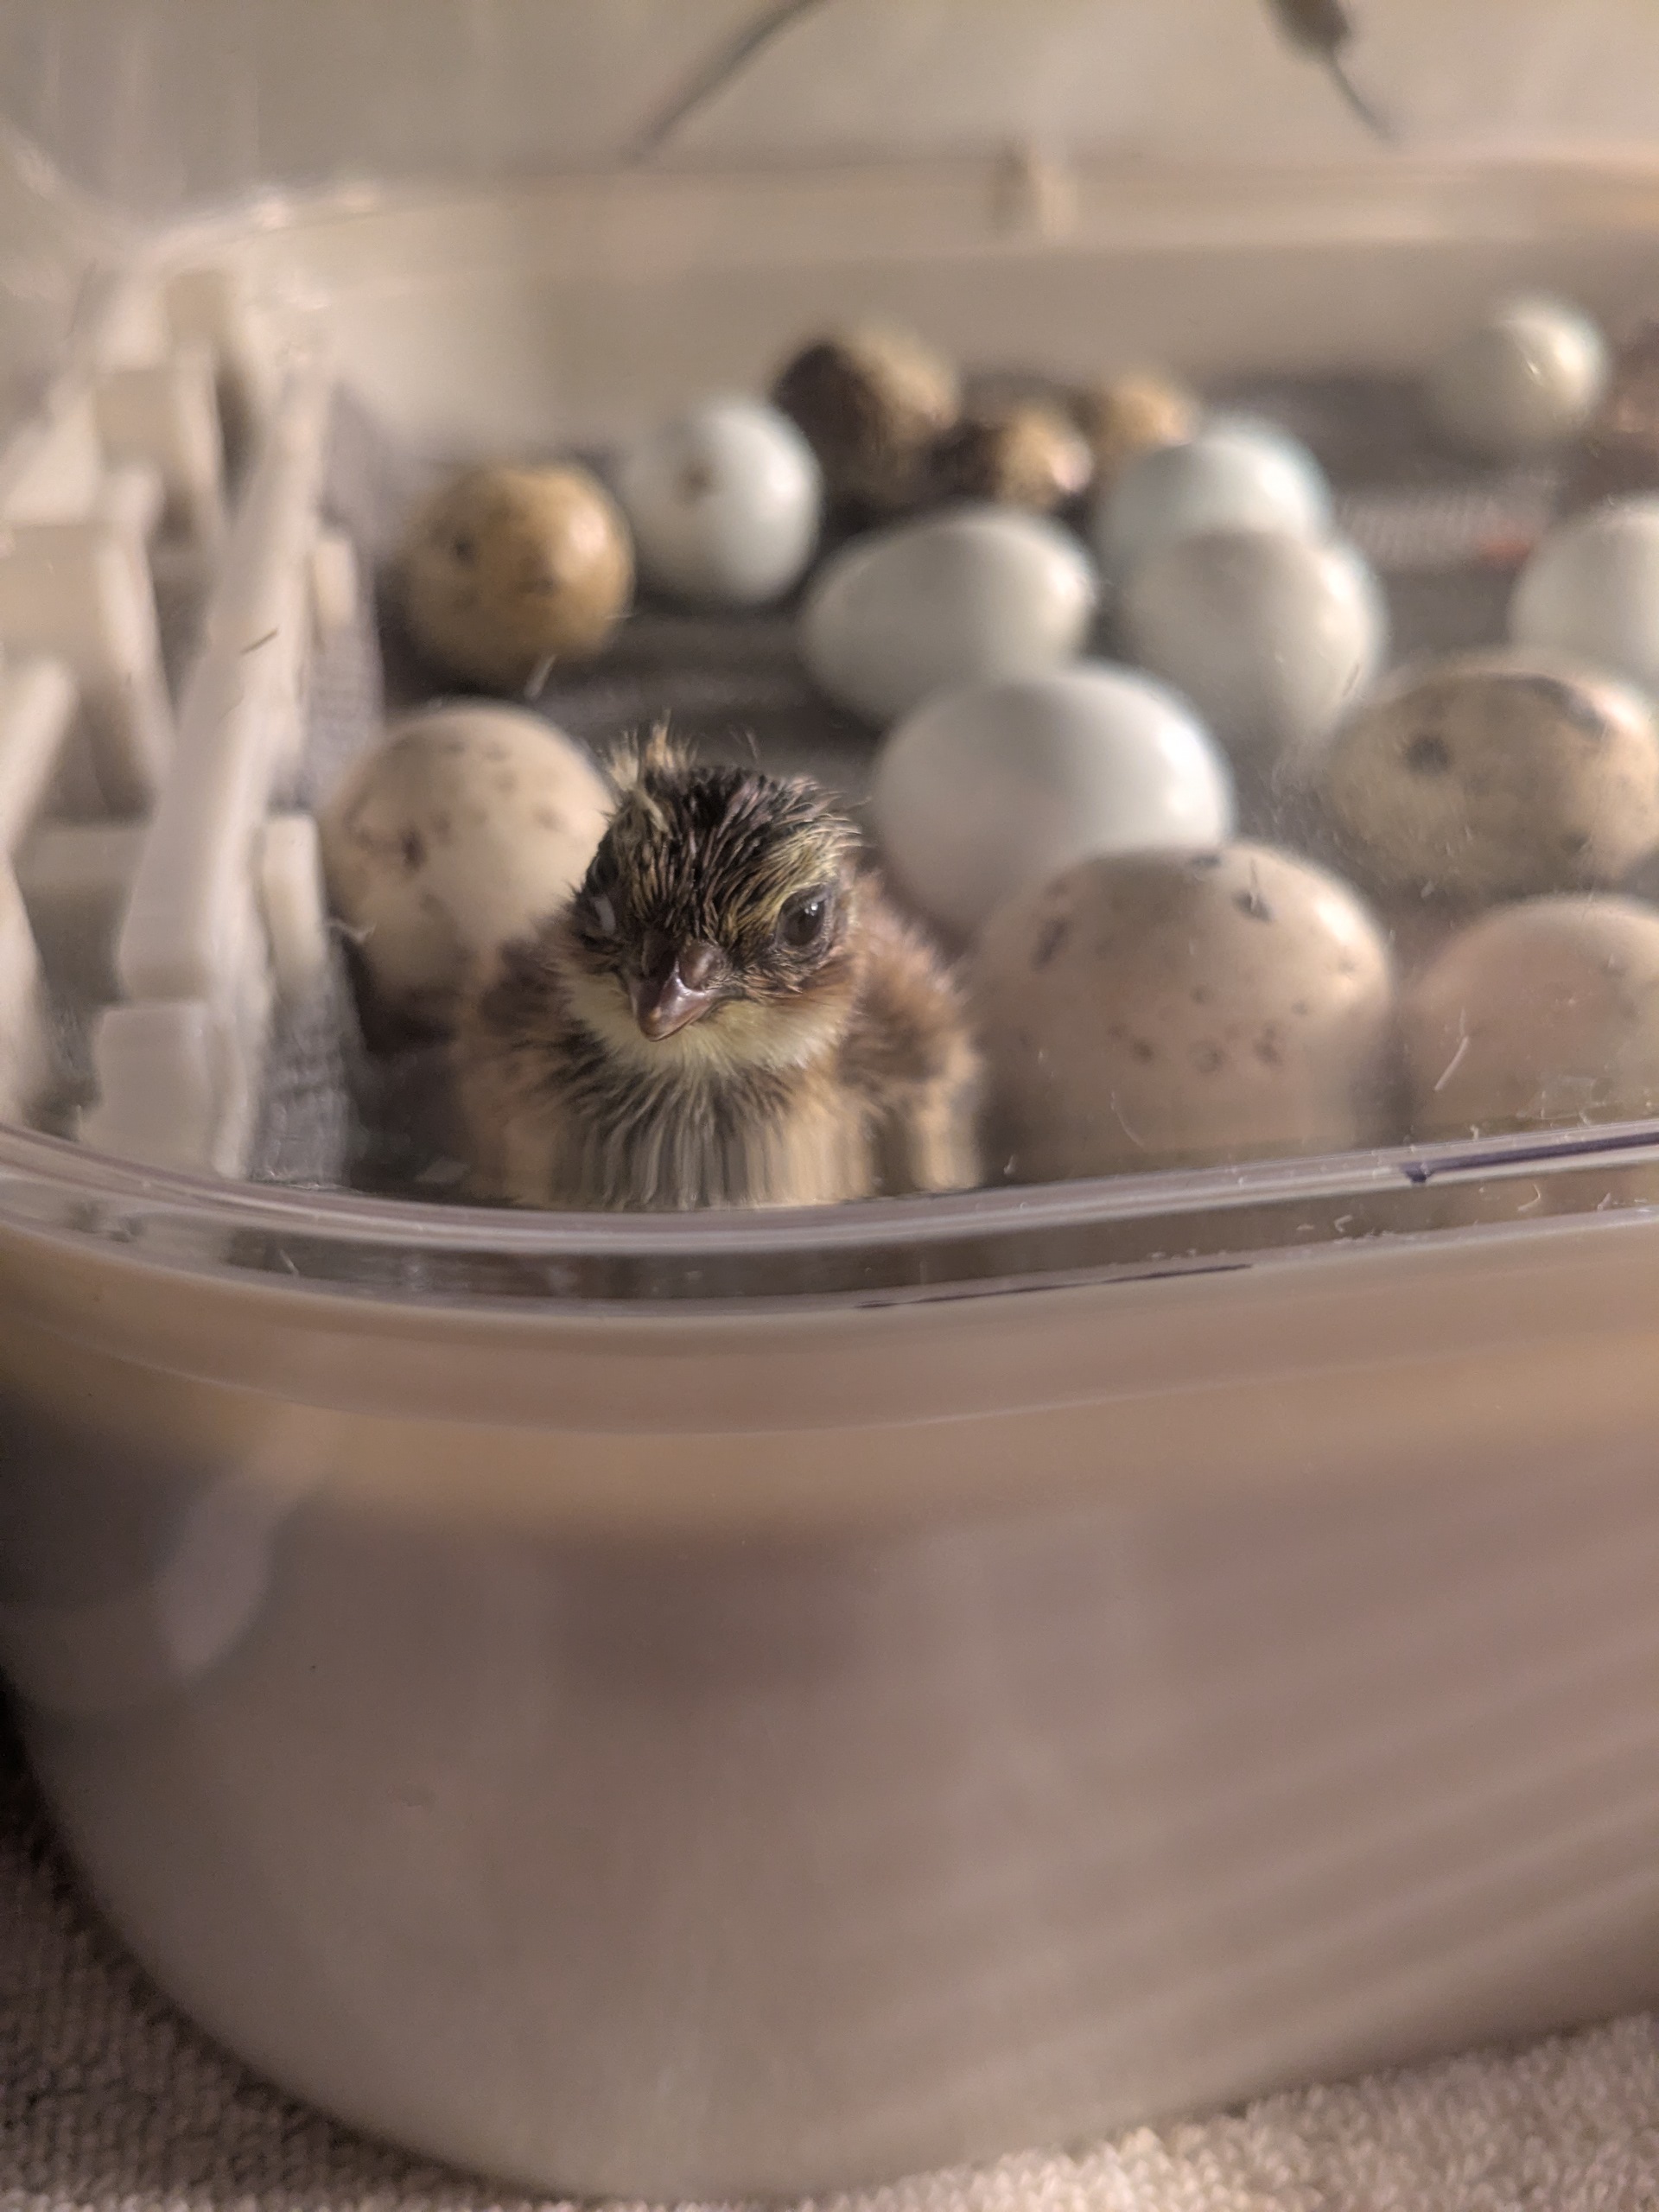
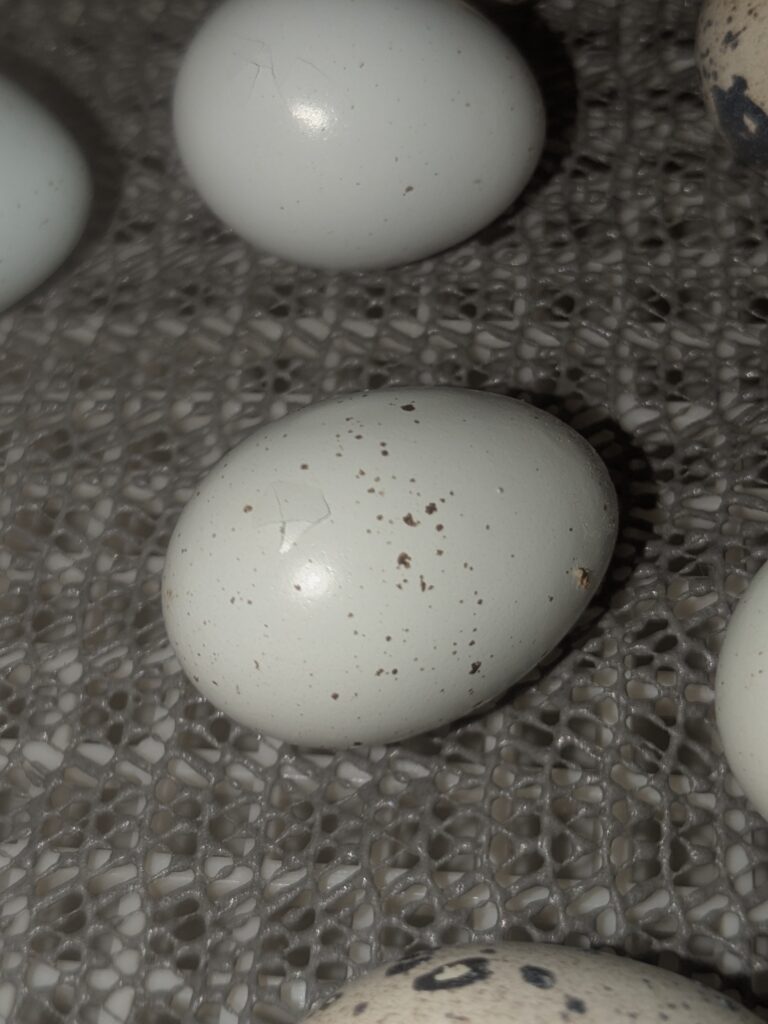
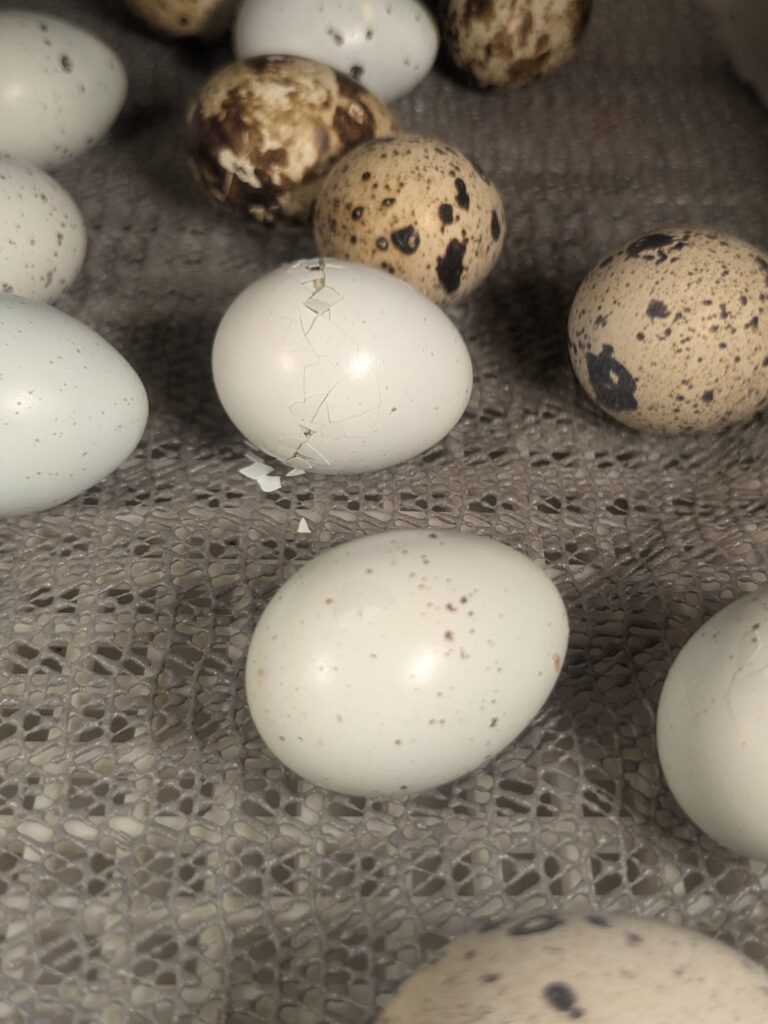
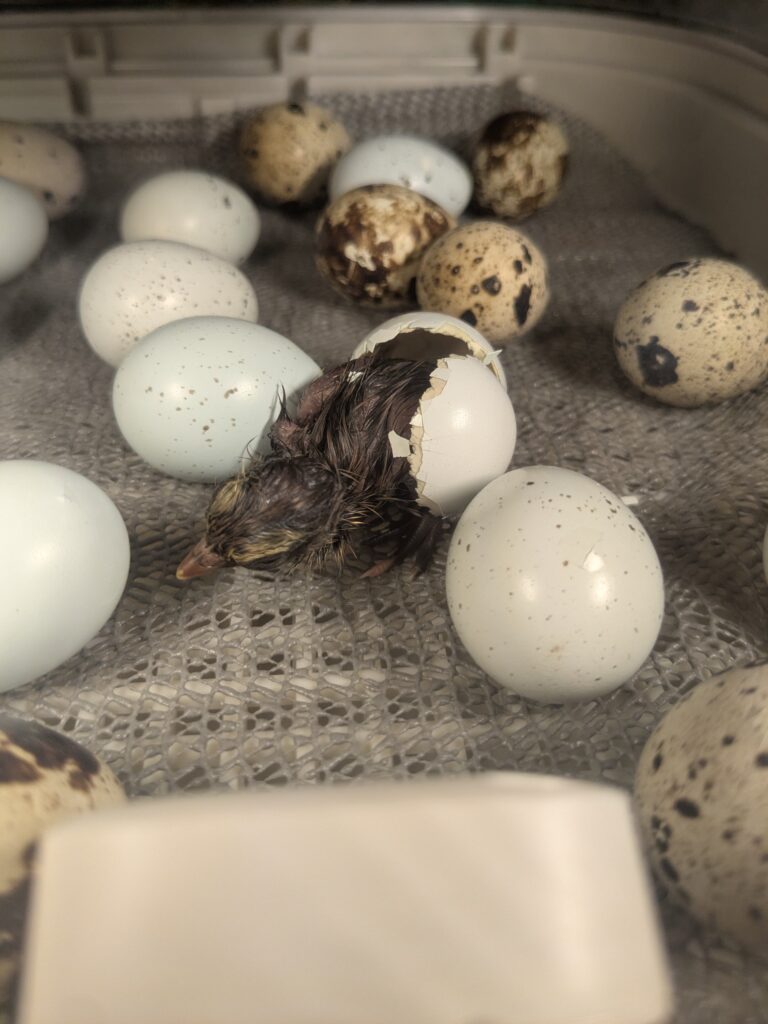
I saw absolutely nothing on day 15 or 16 which surprised me because I thought my incubator ran a little bit hot and that I would have an early hatch. Instead, the chicks started pipping their eggs right on time on Day 17. I noticed the first pip at 12:26 pm on Tuesday, April 29th. It was the teeniest tiniest crack on the top of a celadon egg. I noticed the second pip 3 hours later, the third 4 hours after that and finally 2 more pips at 10 pm. When I woke up on April 30th there were 15 pipped eggs but no chicks in my incubator.
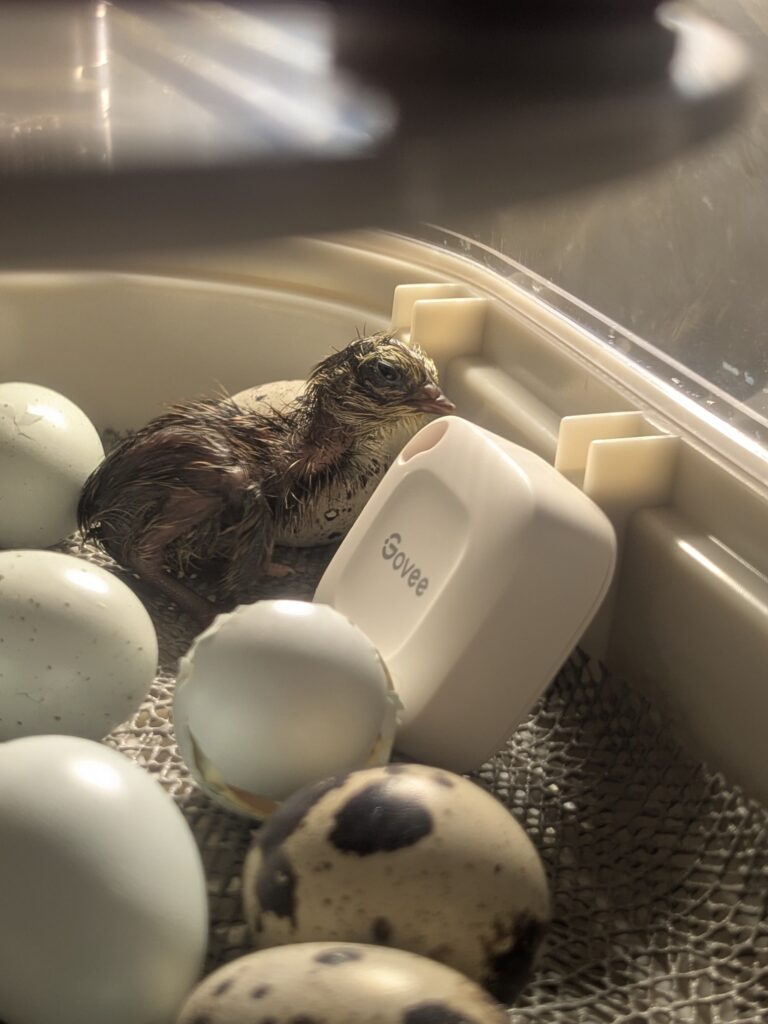
At 11:02 am on April 30th (Day 18) I came back from walking my dog and found that the first eggs to pip was unzipping itself! I sat down to watch the process and at 11:08 am the baby had successfully hatched! By 11:20 am the chick was running around the incubator, climbing over the other eggs and chirping its little head off.
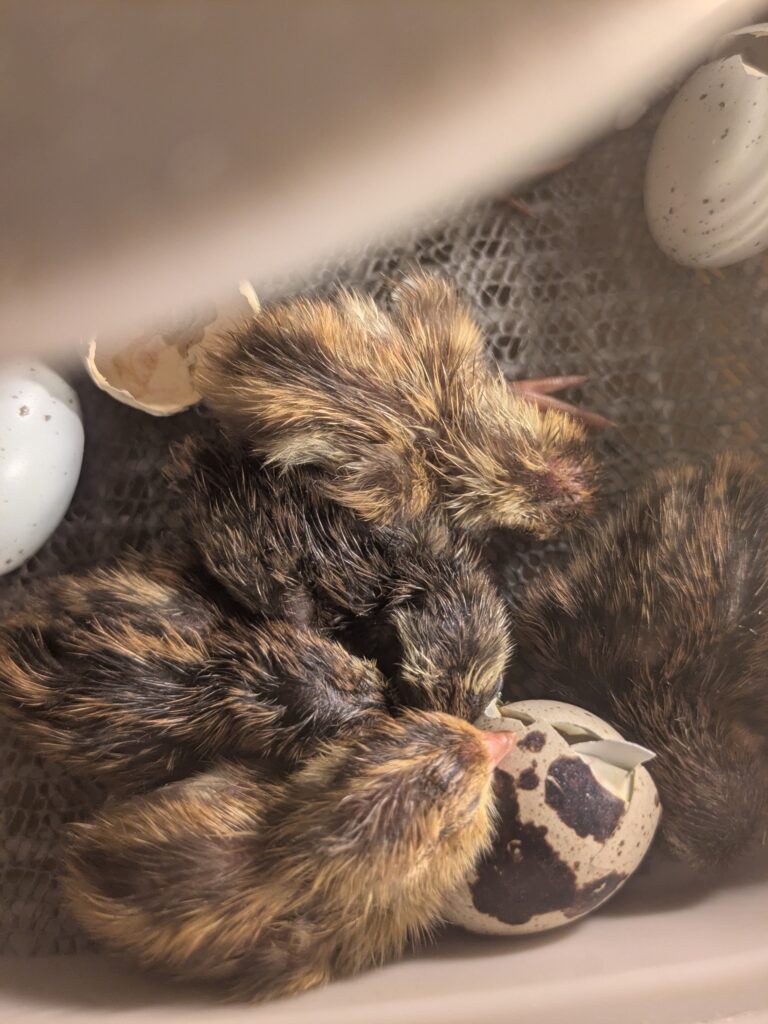
The second egg hatched at 6:56 pm and it was not the second or third egg to pip. That surprised me because I thought they would hatch in the order that they pipped. By 9:39 pm I had 5 chicks running around the incubator causing havoc.
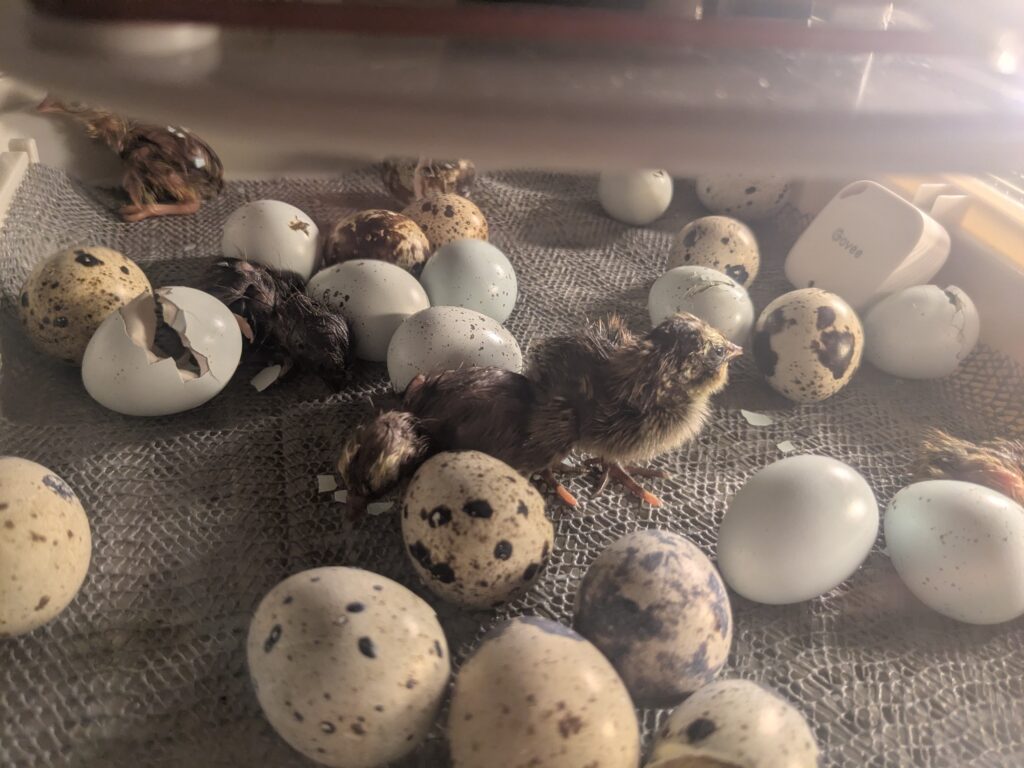
I woke up in the middle of the night that night and couldn’t help but check the incubator for new babies. At 1:50 am there were 7 chicks and at 6:30 am the following morning, when I woke up for real, there were 12 chicks.
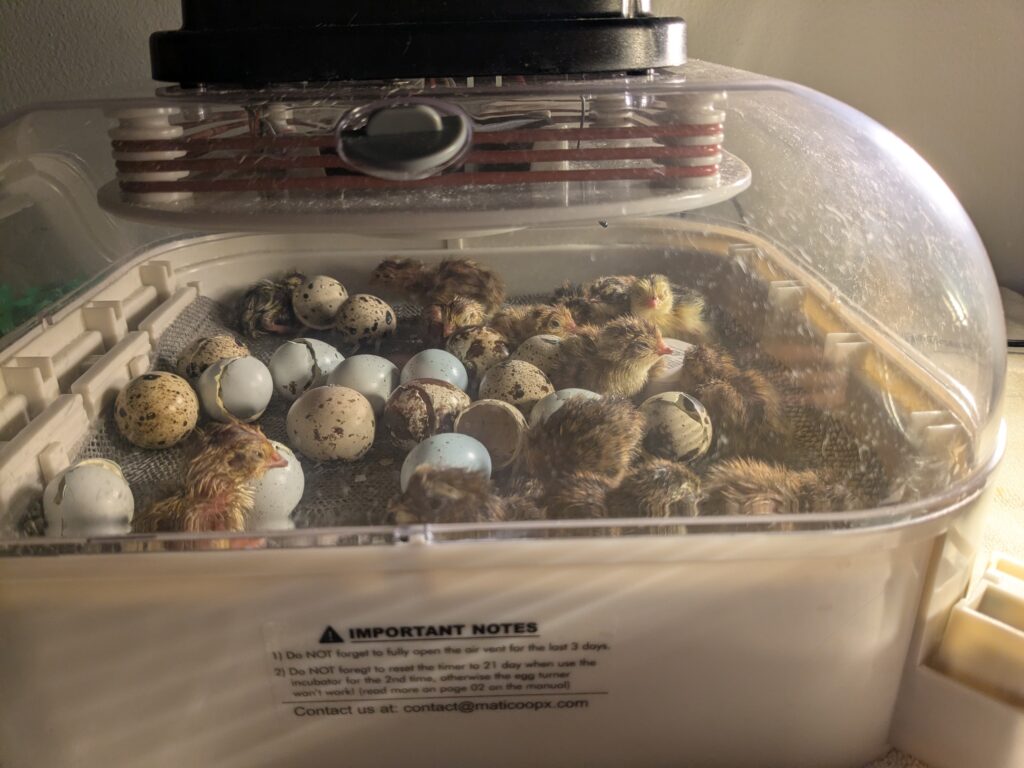
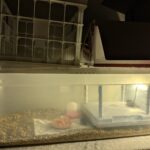
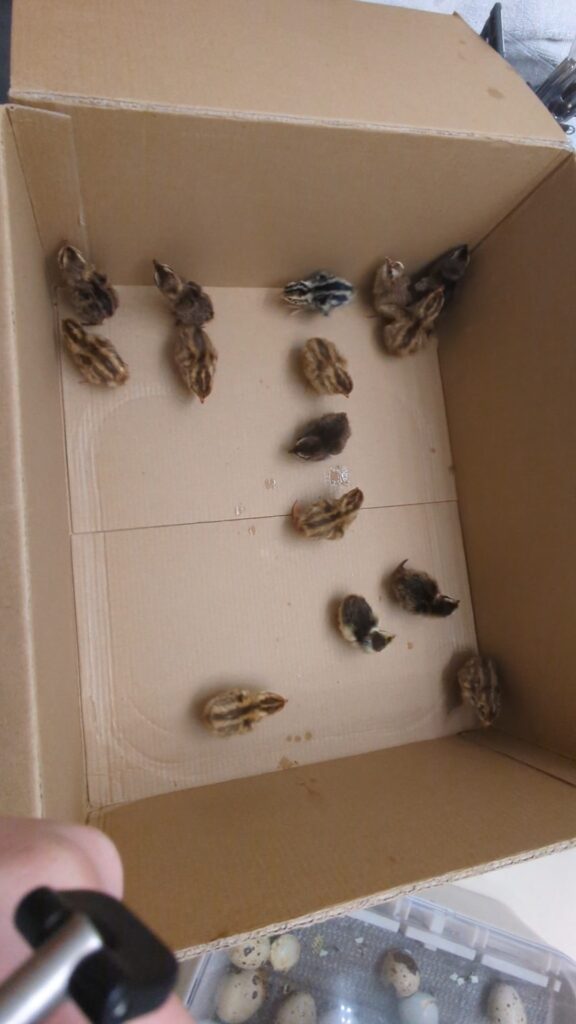
By 7:38 am on May 1st (Day 19) 15 chicks had hatched in the incubator and I didn’t see any sign of more pipped eggs. At 5:40 pm that day I took my incubator into my bathroom and let it run there while I showered. The bathroom was nice and steamy with a humidity in the 80% range after my shower so I felt comfortable opening the incubator to remove the fluffy chicks. All 15 chicks were moved to my brooder. FYI, you will find poop in the incubator even though these babies have never eaten a thing in their lives. The poop journey starts now.
The reason I moved my incubator to my bathroom is because I have read horror story after horror story of folks shrink-wrapping chicks in pipped eggs because they let the humidity drop too quickly. By making the humidity outside the incubator the same as inside the incubator that was one fate I could avoid.
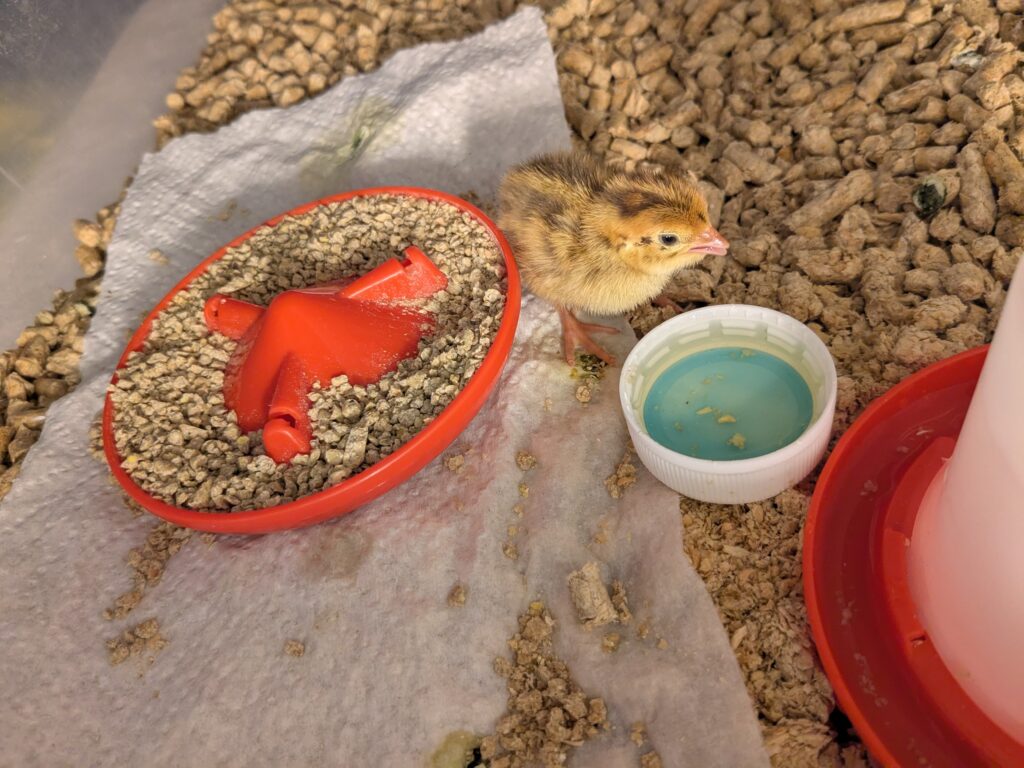
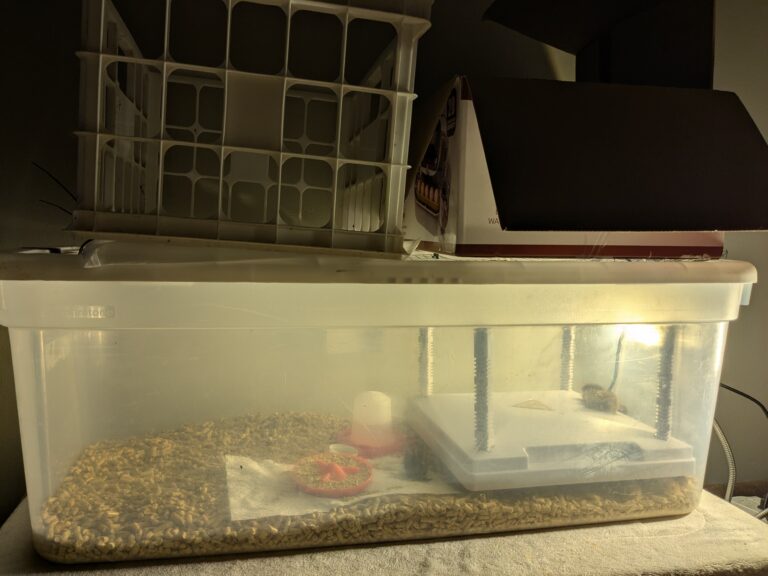
I used a brooder plate for my chicks in the incubator and had it set only about an inch above the pine pellets substrate. The babies immediately scurried under it and stayed there to warm up. Within 15 minutes of being in the incubator I saw some of the chicks pecking at the Pruina Game Bird Starter crumble and by 8:43 pm on May 1st I saw the first chick successfully drinking water.

Back in the incubator, I had one more egg pip at 7:30 pm on May 1st (Day 19). That egg hatched out by 5:50 am on May 2nd and I moved it into the brooder with the rest at 5:30pm.
After the hatch on May 2nd I did not have any more eggs hatch. I tossed the remaining 7 eggs on Sunday, May 4th (Day 21) and I turned off and sanitized the incubator.
So that was my first ever hatch! I hope the timeline is helpful for some of you and that you know feel a bit more prepared for your first hatch.
Good luck!
Here are some bonus photos and videos.