Physical Address
304 North Cardinal St.
Dorchester Center, MA 02124
Physical Address
304 North Cardinal St.
Dorchester Center, MA 02124


You’ve decided to start your garden from seed this year and your plants have germinated! First of all, congratulations!!! Just getting your seeds to pop out of the ground is a huge first step. But what now?
I’m going to try and keep this list short and sweet for you all:
That’s it! Your seven steps for super strong seedlings. Keep reading for a little bit of elaboration on each of the steps. Good luck and I wish you fun and a little bit of chaos!
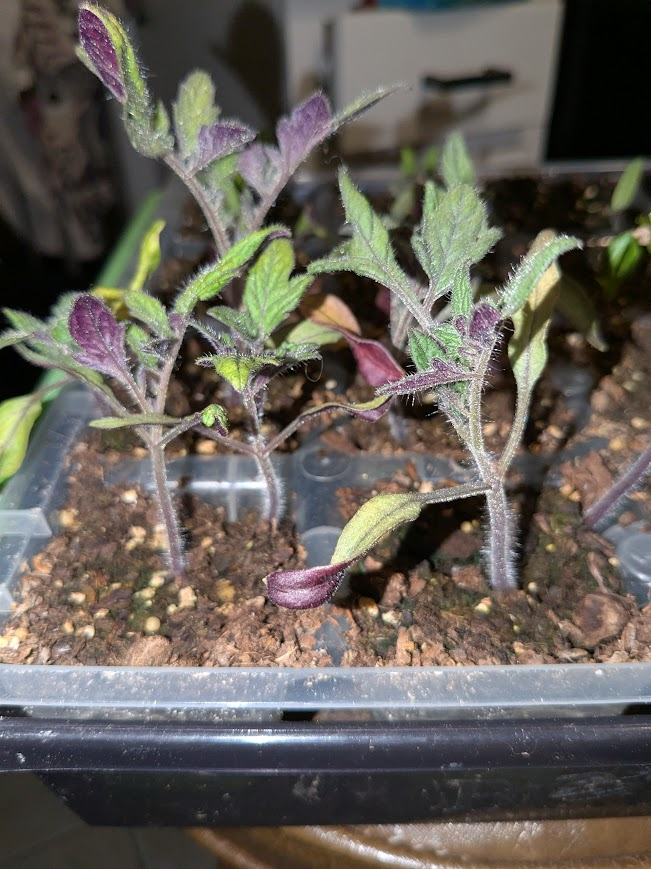
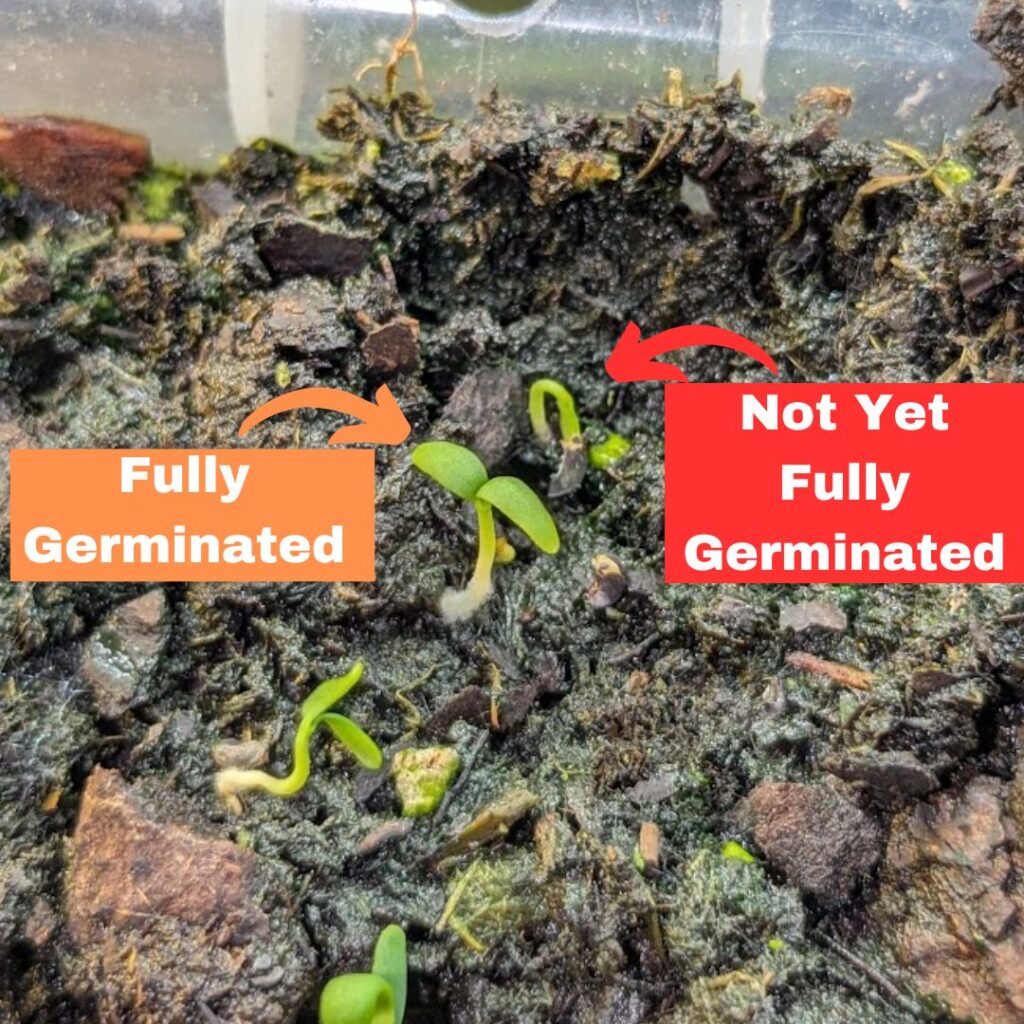
Germination means that the first leaves of the plant (the “cotyledons”) have completely unfurled. If you just see a root and can’t see two distinct little leaves yet, then you are not ready for step 2.
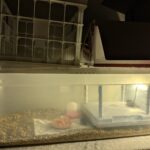
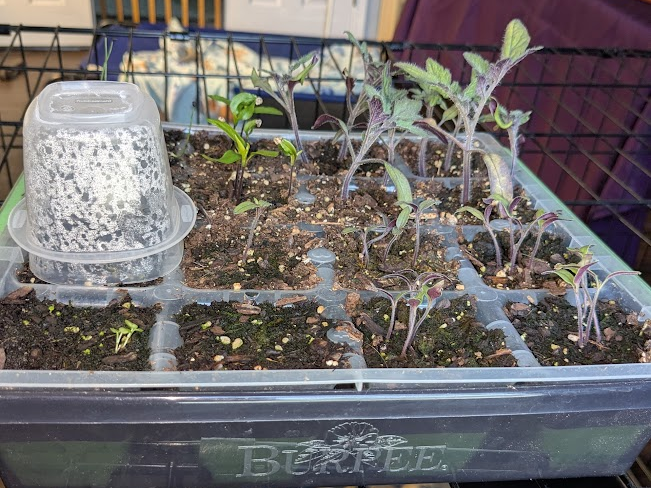
We use humidity domes when germinating seeds to keep the soil warm and moist. Once the seeds have germinated, they don’t need the same level of moisture, so the humidity domes should be removed.
If you do not remove your humidity domes, you risk fungal infections (damping off) due to super moist soil, you risk your seedlings becoming leggy due to filtered light and you risk the seedlings dying from lack of air flow.
If some of your seed cells have germinated and others haven’t, consider using small Tupperware as mini humidity domes over the cells that are a little bit late to the party.
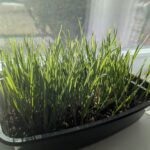
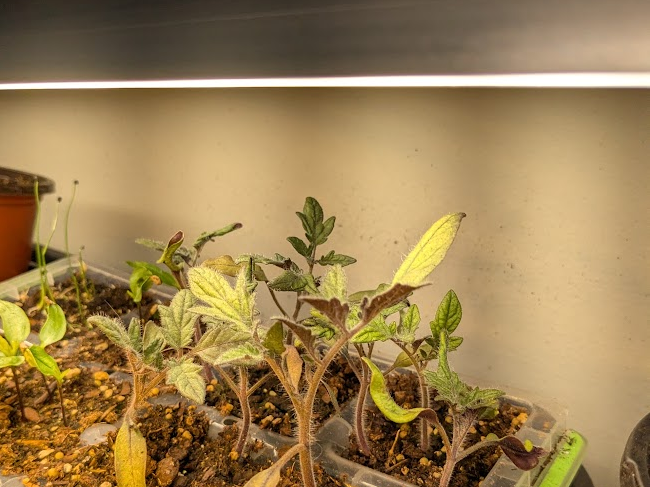
Lack of proper light is probably the most common reason folks end up with weak seedlings. If the light is not close enough the seedlings will become “leggy” (it looks like they’re mimicking Elastagirl) and the stems will not be strong enough to support the mature plant. Most common grow lights and shop lights should be kept 2-4 inches from the tops of your seedlings. As your seedlings grow, adjust your light so that it always stays 2-4 inches from the top of the plant. If the light is closer than that it could burn your leaves or cause “sun burn.”
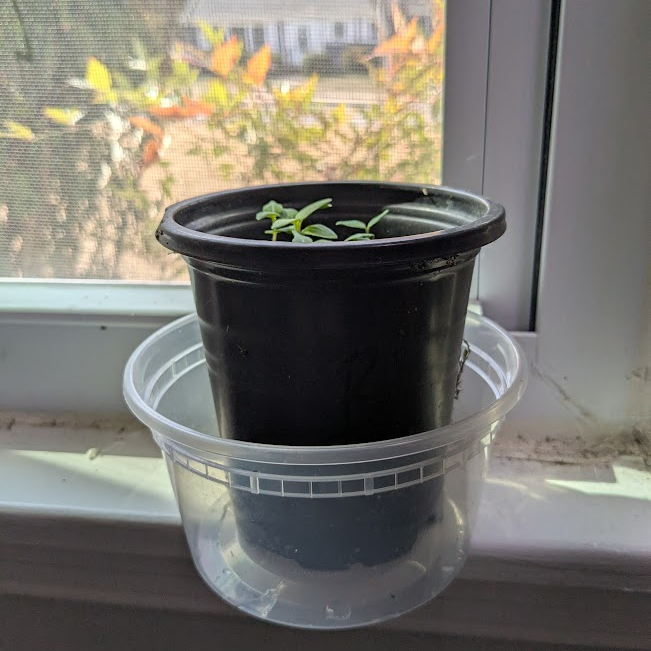
Even if you are planning to use a watering can to water your plants outside, bottom water your seedlings! The reason for bottom watering seedlings is to create deep roots. The surface of your soil will always dry out faster than the soil at the bottom of your container, or the deep soil in the ground. If your seedlings grow strong deep roots then they will be able to better access that moisture and you will need to water them less.
To bottom water your seedlings: sit your seed tray or pot into a separate container with water in it. Only leave your babies in the water for about 5 minutes or until the top of the soil looks damp.
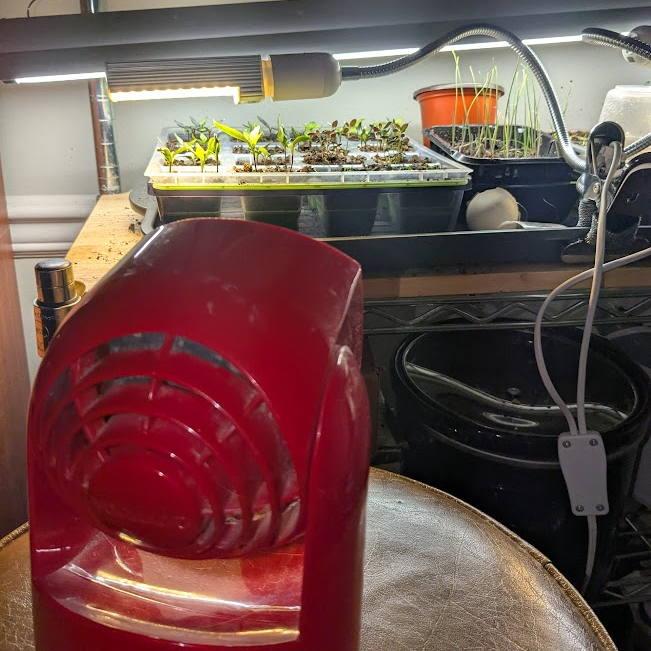
If you plan to put your seedlings outside one day, they will experience wind. In order to prepare them for that early on you can set up a gentle fan. By using a gentle fan the stems will become stronger earlier and your seedlings are less likely to topple over when you put them outside into their permanent homes.
Set the fan up so that the air is only just tickling your seedlings. I normally set mine on a stool so that I can better adjust the air flow. If it is warm enough outside you can open up a window for a slight breeze instead of using a fan.
This step is not necessary, but I have found it helpful when I set up my fan in the last 1-2 weeks before hardening off my seedlings.
I’m going to be honest, I don’t do this because I use potting soil as my seed starting mix. But if you don’t have any compost in your seed starting mix you may want to consider lightly fertilizing once a week once your seedlings have several sets of true leaves. To fertilize your seedlings you’ll dilute your water soluble fertilizer to ¼-½ strength so that you don’t burn the roots. It is better to start with a weaker dilution so that you don’t kill your babies by trying to show them too much love.
Hardening off your seedlings means to bring them outside for field trips before they move outside permanently. 1-2 weeks before you plant them in their forever homes you will start bringing them outside for just a couple hours starting in the shade and working your way up to full sun, wind and rain.
Online Resources: