Physical Address
304 North Cardinal St.
Dorchester Center, MA 02124
Physical Address
304 North Cardinal St.
Dorchester Center, MA 02124


If you’ve decided to get into canning then you’ve probably started to discover that it takes up A LOTS of space.
You need space for the canner, space for the jars, space for the rings, you need to separate out your used lids and new lids, and you need space for your finished canned goods too. Not only that, but you can’t stack your jars if you want to avoid a false seal situation, so all of those tall cabinets and normal bookshelves are completely useless.
Everything takes up so much space that my partner sat me down one day and told me that I needed to either start getting rid of jars, or come up with a different solution. I was NOT giving up my jars, in fact I had two more cases in the closet that my partner didn’t even know about.
With this in mind, I remembered that there was an odd open corner in the dining room (which is actually the dog room), so I went in to measure it and see what shelving units the internet had to offer. I had 19 inches available for a free-standing shelf. Spoiler alert: the internet had nothing for me. The only available options were wire shelves for $40 or wood shelves for over $150. Neither option would make the most of the space and both options only had 5 shelves. Only 5 shelves is so much wasted space when it comes to canning and I couldn’t justify the purchase. Even Facebook marketplace left me hanging.
Due to this, and the fact that I was born with the “I can do that” gene, I picked up a piece of paper and started sketching. I wanted to build a wooden bookshelf with specialized shelves for each size of canning jars. I thought that I could make this project happen for less than $50. I was wrong about the price, but the finished product was totally worth it and I will include a price breakdown at the end of this post.
Some things to keep in mind about the canning jar shelf pattern I’ll be sharing in this post. I built this shelf for my family’s needs. The size of the shelf is very specific to my house. The number of shelves and distance between shelves is very specific to what foods I like to preserve in canning jars. The height of the shelf is a little wonky because I am 5’4” and I need to be able to easily check the seals on all of the jars without a step stool.
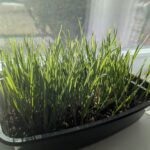
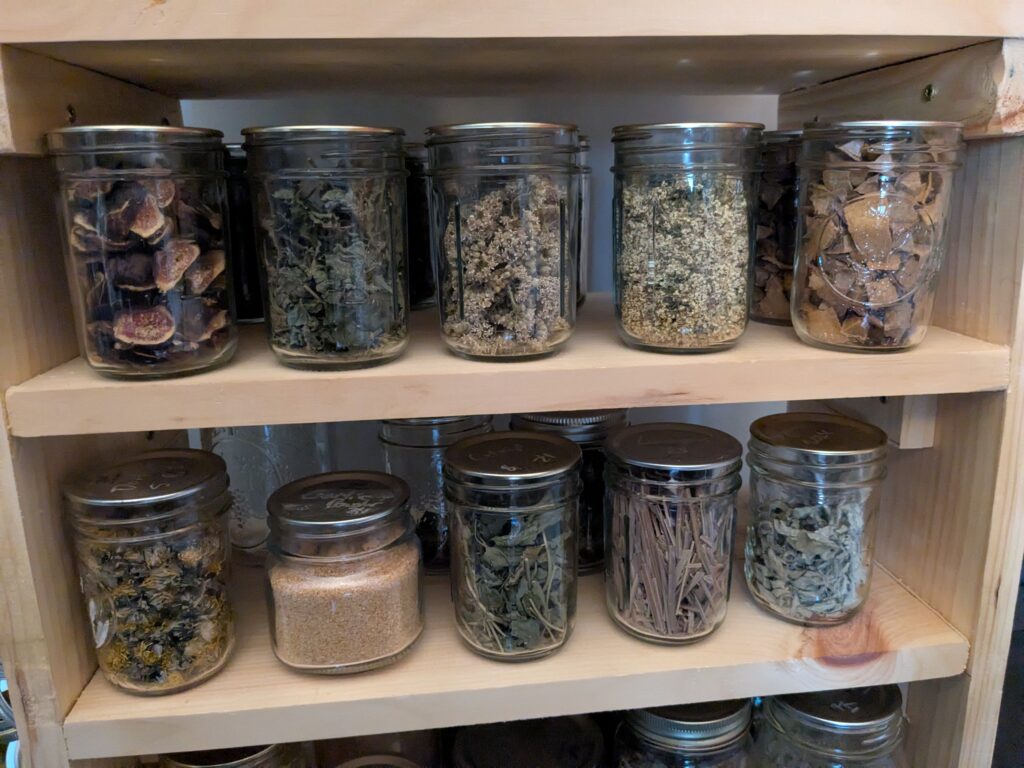
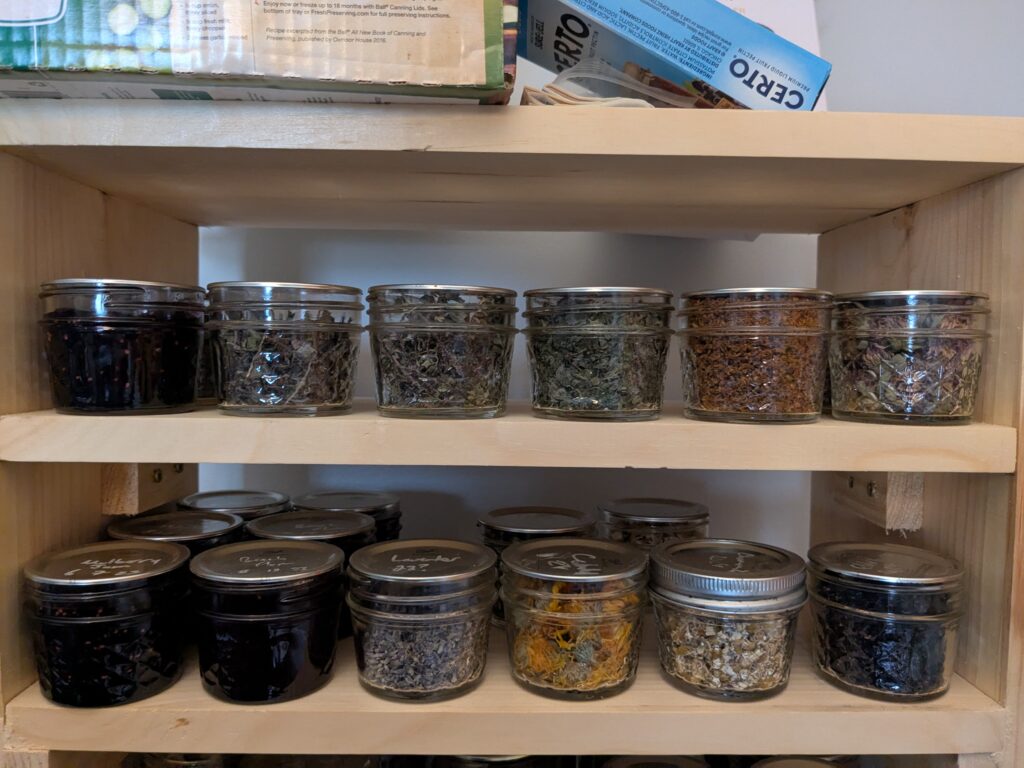
I primarily preserve dried herbs in quarter and half-pint jars. My household drinks an excessive amount of tisanes (herbal teas) and I grow/forage the majority of those herbs. I prefer quarter pint jars for dried tea herbs because they allow me to fit a larger variety of open jars in my tea cabinet, the jars stay sealed for longer so the herbs stay fresh for longer, and I think they’re really cute. The biggest downsides to quarter pints are that they are so short they create wasted space in normal cabinets and for some reason they cost basically the same as all other size jars. The new shelf needed to be able to fit a stupid amount of quarter and half-pint jars.

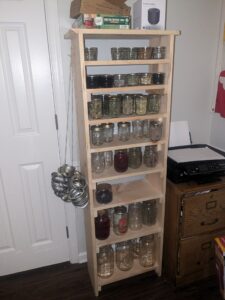
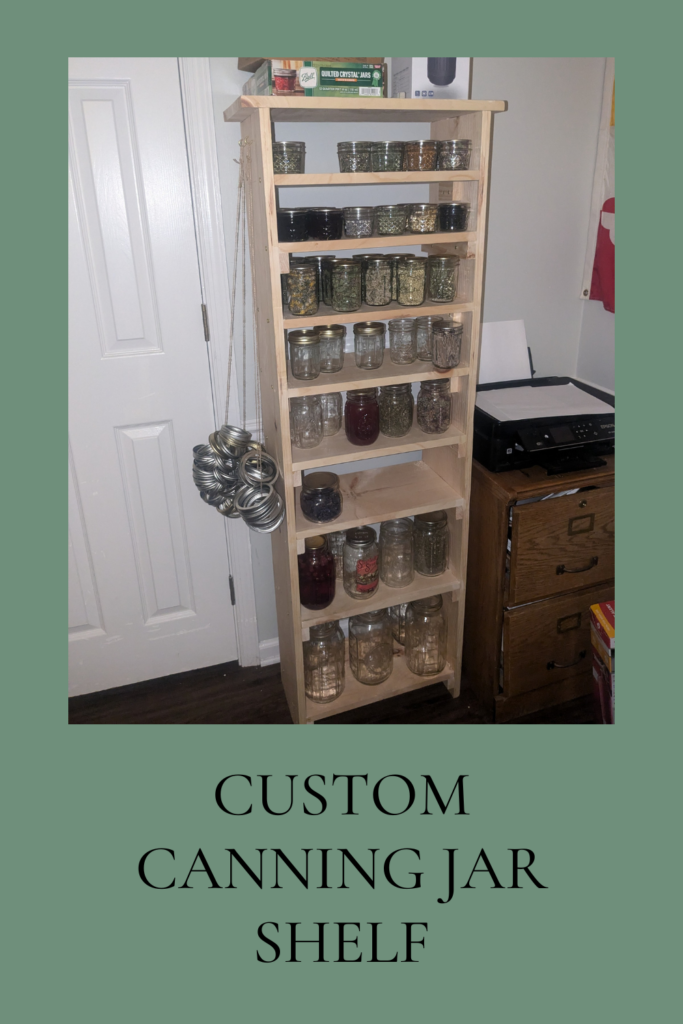
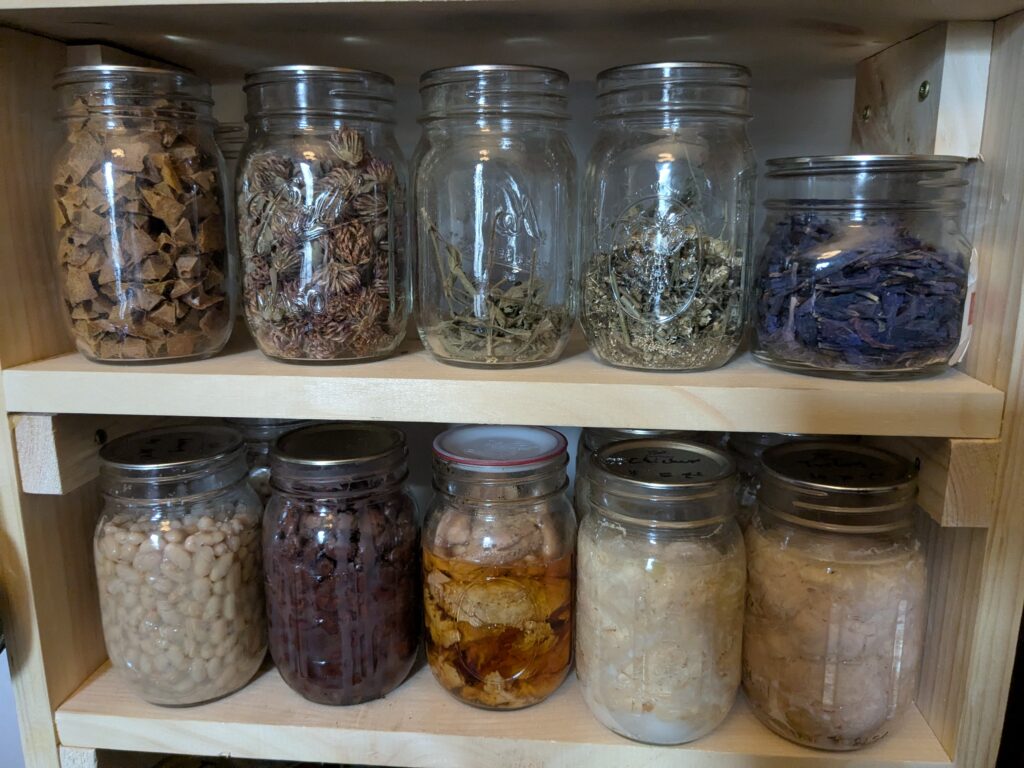
The final design I came up with accomplished the goal of fitting a stupid amount of little jars. The shelf fits a grand total of: 36 quarter-pints, 30 half-pints, 30-pints, 8 quarts and 6 half-gallons.
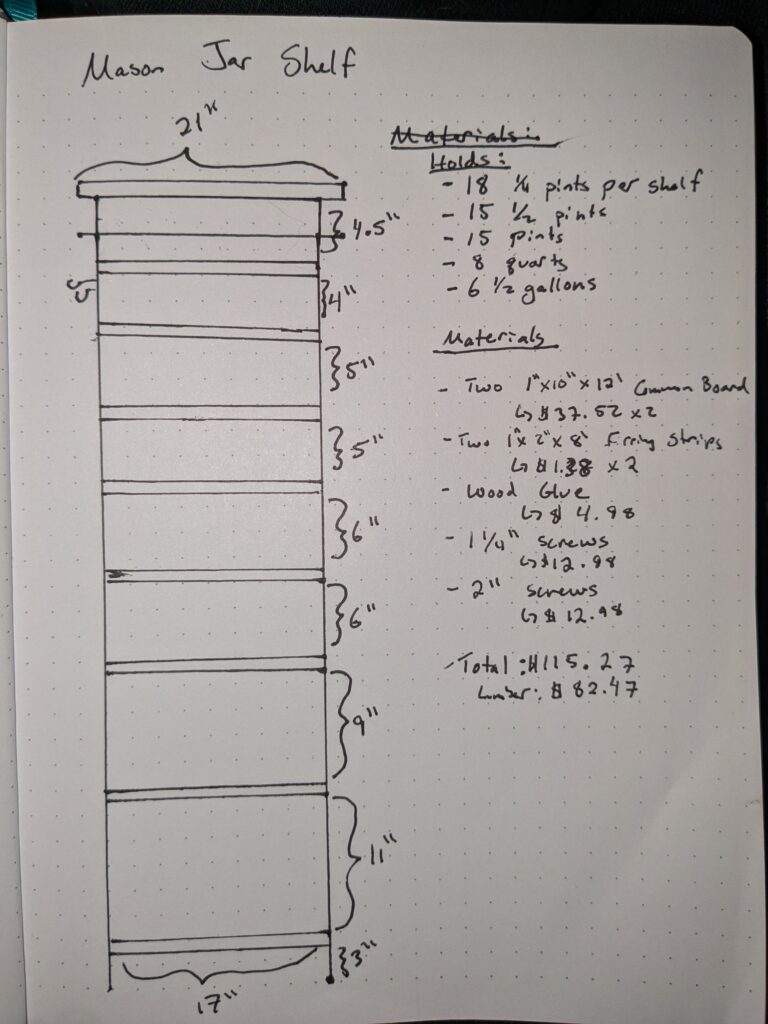
I built a canning jar shelf that is 5 feet 1 inch tall, 19 inches wide at the base and 21 inches wide at the top. I used 1”x10” untreated pine lumber. My plans specified 2”x10”s, but then I went to the home improvement store, felt how heavy the 2”x10”s were and realized the 1”x10”s looked more like a classic bookshelf anyway. Since the shelf would be inside, the wood didn’t need to be treated.
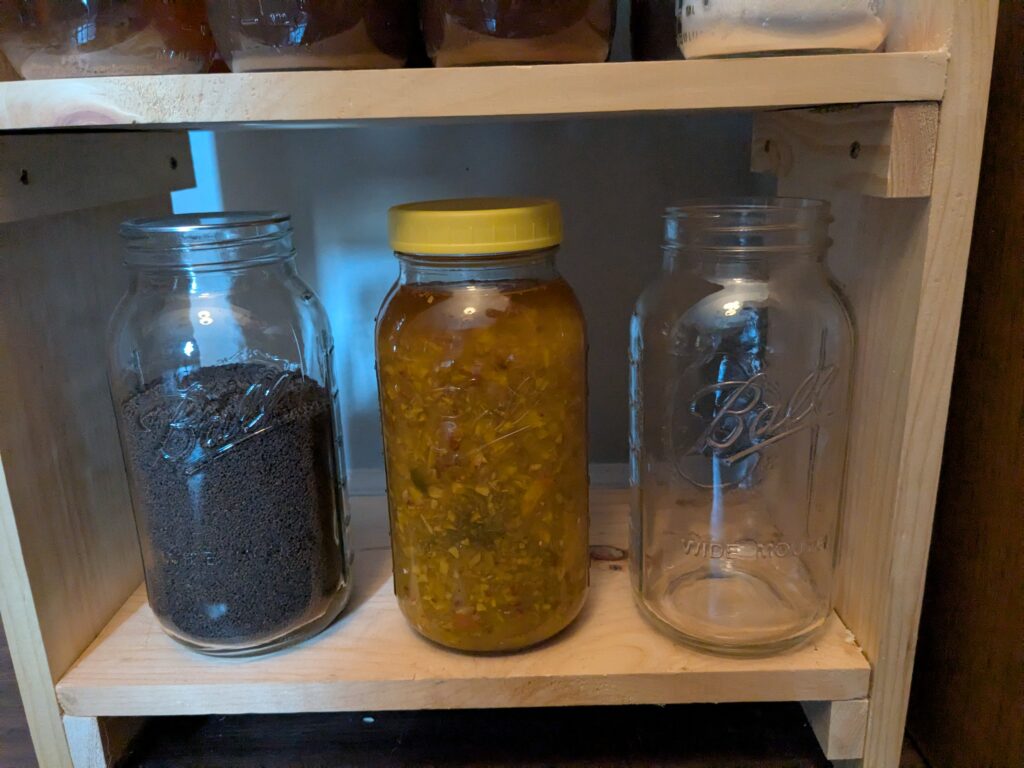
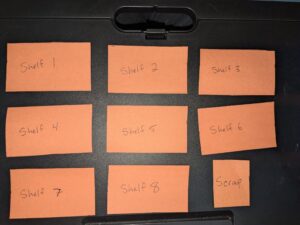
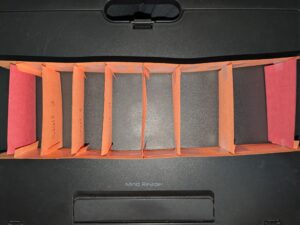
The bookshelf has 8 shelves spaced apart based on what size jar they should be holding. The two shelves for the quarter-pints are 4 inches apart, the two shelves for the half-pints are 5 inches apart, the two shelves for the pints are 6 inches apart, the one quart shelf is 9 inches tall and the half-gallon shelf is 11 inches tall. There is a 3 inch gap between the half-gallon shelf and the floor to allow for sweeping.
The canning jar shelf is organized with the smallest jars at the top and the biggest at the bottom to make the piece of furniture more bottom heavy and less likely to fall over.
I used furring strips below each shelf to reinforce them and help them hold more weight. I can a lot of dry goods right now but I’m hoping to change that and start storing more “wet” foods in the future.
To successfully build this shelf I needed the following materials:
Unrelated to building the shelf, but I discovered during this project that my Rav4 does not fit 12 foot boards inside of it. Thank goodness I had ratchet straps in my trunk. I was offered help by several men when they saw me pull out the straps but I politely declined, secured my boards, and got on my way.
To successfully build this canning jar shelf I used the following equipment:
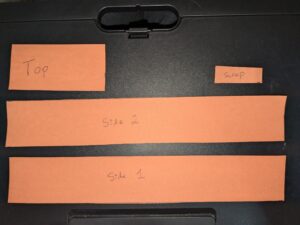
To start, I cut two 5-foot segments from one of my 1”x 10”s for the walls. With that done I cut the last 24” into a 21-inch piece for the top of my canning jar shelf.
I then cut the other 1”x10” into eight 17-inch segments to make my shelves. You will have 8 inches left-over for other projects!
Ok, the above two instructions are not entirely, exactly, what I did. But they are what YOU should do if you’re trying to replicate my shelf. I made my plan based on 2”x10”s and bought materials based on that assumption. Because I made the decision to switch to 1”x10”s on a whim at the store I did not think to adjust my measurements and add the 8th shelf until I got home and started building. One of the 10-inch boards I bought was only 10 feet long so when I decided to add the 8th shelf (which was a pint shelf by the way) I had to rummage through my shed to find some extra lumber. One of my shelves is not pretty 1”x10” but is instead two 1”x6” boards that I trimmed a little bit.
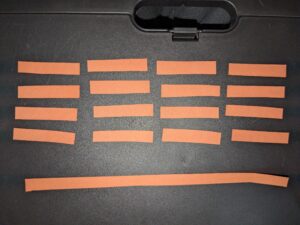
Moving on, the next step is to cut your 1”x2” furring strips into 16 9 1/4-inch segments. Remember that when a board is listed as 10 inches, it’s never actually 10 inches (sound like anyone else in your life?). Once again, I kind of goofed on this step and did not have enough furring strips, but I adjusted that for you in the materials list so that you will have enough.
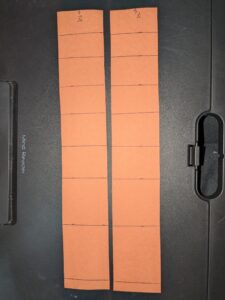
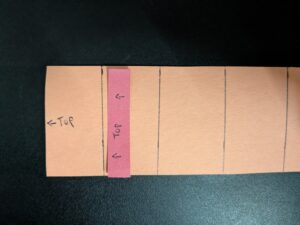
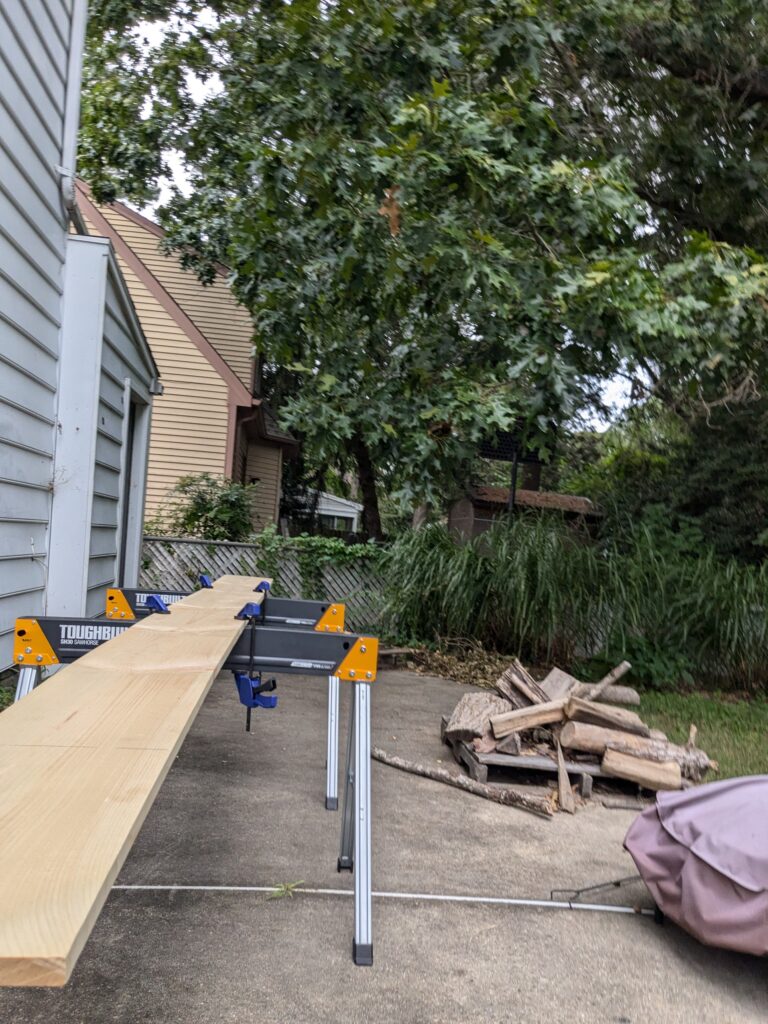
Once I had all of my lumber cut, I was ready to assemble my canning jar shelf! To do this I laid my two shelf walls down on my patio and deeply trusted my measuring skills. Using a piece of scrap wood, I marked where each of my shelves would be and measured the correct shelf height between shelf marks. This was a horrible method. It was both tedious, time consuming and I ended up with an extra ½” of space in my top shelf. If you’d like to recreate this shelf, I recommend avoiding this tediousness by cutting your side boards to 61 inches each instead of 60, and drawing your shelf marks from top to bottom at 5”, 10”, 16”, 22”, 29”, 36”, 46”, and 58”. The “recipe” at the bottom of this post reflects my recommendations, not what I actually did.
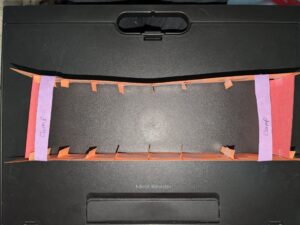
Next, I laid out my furring strips at each of those marks with the “top” of the furring strips touching the marks. Your shelves will be laying on top of these furring strips. I drilled some pilot holes in the furring strips, painted on a small amount of wood glue, and secured the furring strips to the walls using the 1 ¼” screws.
Next, my partner arrived home from work and I guilted them into helping me for 5 minutes. With help, I checked that all of my furring strips were level. Thank goodness they were because I had already secured them with wood glue. I recommend using your level before securing all of the strips. Then, I stood both walls of the canning jar shelf up, put in one shelf at the top and one at the bottom, and used my clamps to keep the shelf together standing up-right. This allowed me to permanently install all of the other shelves. You could also do this step with the shelving unit laying down.
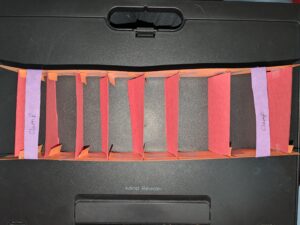
The way I permanently installed the shelves is similar to how I installed the furring strips. I don’t mind the look of screws on the outside of furniture, so I drilled pilot holes through the walls of the cabinet and into each shelf, then used wood glue to secure the shelf to the walls and furring strips on the inside of the structure, and used the 2” screws to tighten everything down, drilling them through the outside of the structure. You could just use wood glue if you don’t like the look of exterior screws.
Once the majority of shelves were permanently installed, I removed my clamps, repeated the process for the top and bottom shelves and then secured the top of my canning jar shelf with 1 ¼” screws.
Last step! I installed two small hooks on the outside of the left wall so that I could hang all of my canning rings.
That’s it! The shelf was done! I chose not to seal or paint my shelf because I needed it then and there but I probably will in the future if/when my partner and I move.
I hope this helps and I wish you luck in your canning journey!

I spent $82.47 (in the fall of 2024) on this project because I only needed to buy the lumber. If you need to buy everything it will be closer to $116.84. Please note, there are cheaper brands of screws and glue! I just included the price for the products I used. Finally, last note, the similar custom shelving units I found online were upwards of $300. So while this isn’t the cheapest product, it’s still considerable savings if you need this type of shelf.
| Item | Cost | Inventory | Total $ | Comments |
| 1″X10″x12′ Common Board | $37.52 | 2 | $75.04 | |
| 1″x2″x8′ Furring Strips | $1.38 | 2 | $2.76 | |
| 1 1/4″ Screws | $12.98 | 1 | $12.98 | I already had these at home. |
| 2″ Screws | $12.98 | 1 | $12.98 | I already had these at home. |
| Wood Glue | $4.98 | 1 | $4.99 | I already had these at home. |
| Small Screw Hooks | $1.48 | 1 | $1.48 | I already had these at home |
| Total After Tax: | $116.84 |