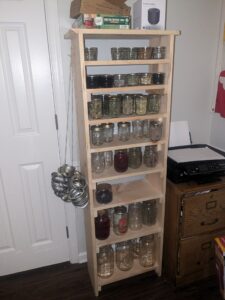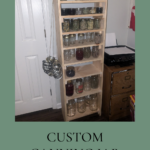
Custom Canning Jar Shelf
This shelf holds 36 quarter-pint, 30 half-pint, 30 pint, 8 quart and 6 half-gallon canning jars.
Yield: 1 Free-standing Shelf
Cost: 116.84
Equipment
- 1 Circular Saw Can use large miter saw
- 1 Pair of Saw Horses Can use chairs or something else
- 1 Drill
- 1 Level
- 2 Large Wood Clamps optional
- 1 Tape Measure
- 1 Angle Square Optional
- 1 Pencil
Materials
- 2 1"X10"x12' boards I used common white but you can use whatever type of wood you'd like
- 2 1"x2"x8' furring strips should match your main boards
- 1 bottle wood glue
- 36 1 1/4" wood screws
- 32 2" wood screws
- 2 small hooks
Instructions
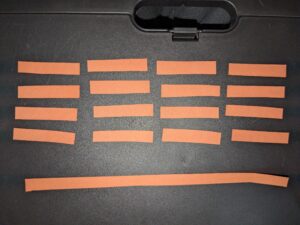
- Using your circular saw cut two 61-inch segments from one of the 12-foot boards. These will be your side boards.
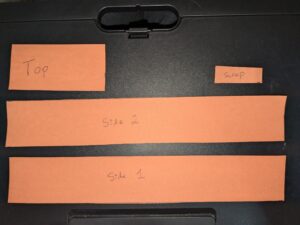
- With the remaining wood from that board, cut one 21-inch segment. This will vbe the top of your shelf. You'll have 1" left over. Add the 1 inch to your scrap pile.
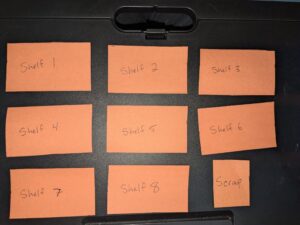
- Cut the other 12-foot board into eight 17-inch segments. These will be your shelves. You'll have 8 inches left over, add it to your scrap pile.
- Cut your two furring strips into sixteen 9 1/4- inch segments. These will support your shelves.
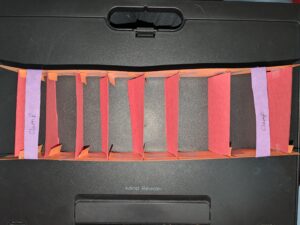
- Lay down your long "wall" boards and using your pencil and your angle square draw lines perpendicular to the length of the board at 5”, 10”, 16”, 22”, 29”, 36”, 46”, and 58”.

- Stand your boards upright so that the 5" mark is actually at the top of your boards. Mark the top of your board as "Top".
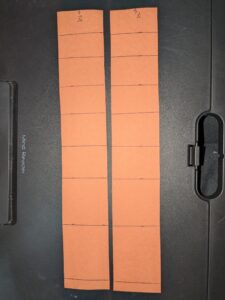
- Check that your lines on each board are level.
- Lay your boards back down set-up your furring strips. The strips should be set so that the "top" of your furring strips align with each drawn line.
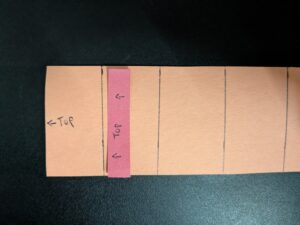
- Secure your furring strips with wood glue and the 1 1/4" screws. 2 Screws per strip.
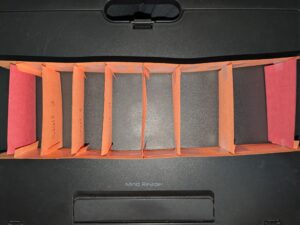
- With help, stand both of your side boards upright, place one 17-inch segments on top of the pair of bottom furring strips and one 17-inch segments on top of the top pair of furring strips.
- Using clamps, secure the two side boards together so that the shelf stands up-right on its own. Let your help know they can leave if they want to.
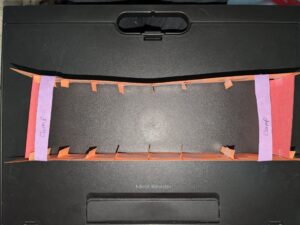
- Insert each of the remaining 17-inch segments on top of the remaining pairs of furring strips.
- Drill two pilot holes per shelf per side through the side boards and into each of the 17-inch segments.
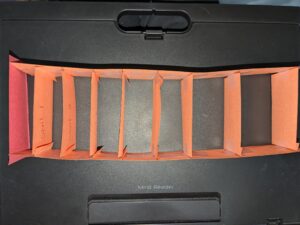
- Using wood glue on the interior of the side boards and the top of the furring strips secure the 17-inch segments.
- Using your drill, drill the 2" screws through the pilot holes and into the 17-inch segments
- Remove your clamps and repeat the previous steps to secure the top and bottom 17-inch segments.
- Center your 21-inch segment on top of the shelf and secure to the side boards by drilling pilot holes and then using 1 1/4" screws.
- Secure your two hooks to the side of your new canning jar shelf to hang your rings. I put mine about 6 inches from the top of my shelf.