Physical Address
304 North Cardinal St.
Dorchester Center, MA 02124
Physical Address
304 North Cardinal St.
Dorchester Center, MA 02124


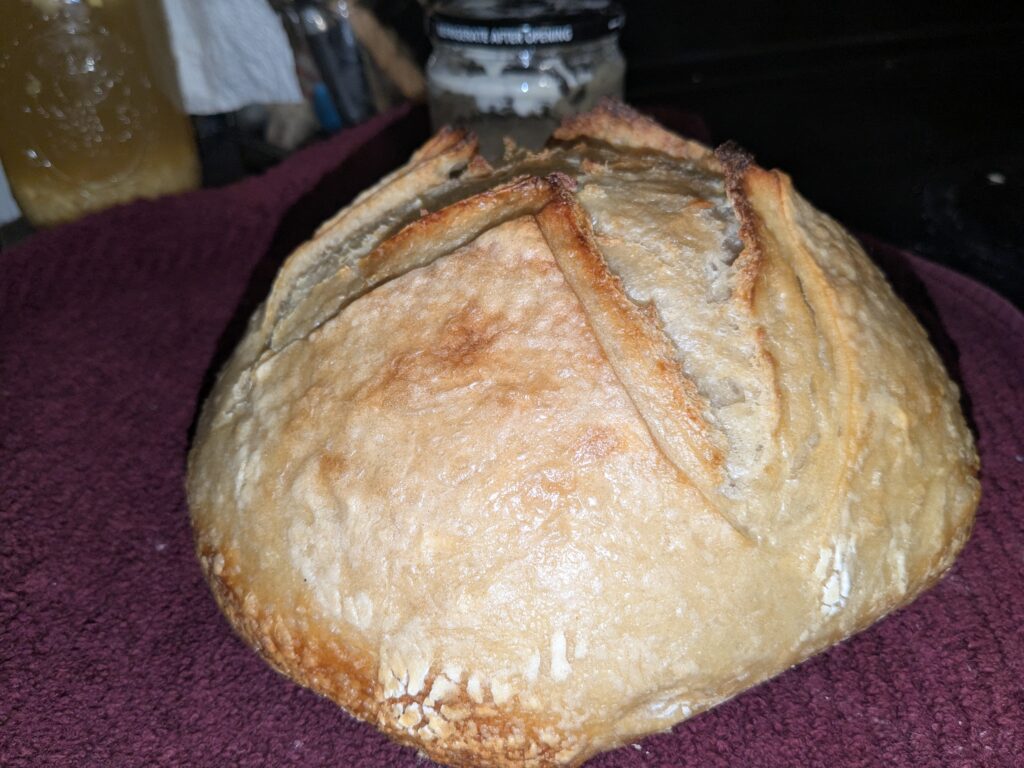
So, you’ve entered your sourdough era.
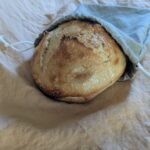
You are baking loaf, upon loaf , upon loaf of bread.
If you’re anything like me, then you are trying to find the best way to store your homemade bread to maximize shelf life. But, you’ve read so many conflicting reports on how to store your bread that you’ve started just slicing it up as soon as it is cooled and putting it in the freezer. Unfortunately, previously frozen bread just doesn’t taste or feel the same as fresh bread when making a sandwich.
So how do we fix this? What is the best way to keep homemade bread fresh without adding preservatives? I’ve had trouble finding any “best practices” for storing bread (other than freezing) on university and .gov websites so I turned to the blog world. According to some of my favorite creators, the best methods to store fresh sourdough bread are either a bread box or a bread bag. Neither will keep bread fresh for multiple weeks, but both will keep your homemade bread fresh for more than a day, which is about how long it lasts by itself on the counter.
The benefits to a bread box or bread bag are that they supposedly let in enough airflow to keep your crust crispy and prevent mold, but they also keep in enough moisture that they don’t let your bread go stale within a day either.
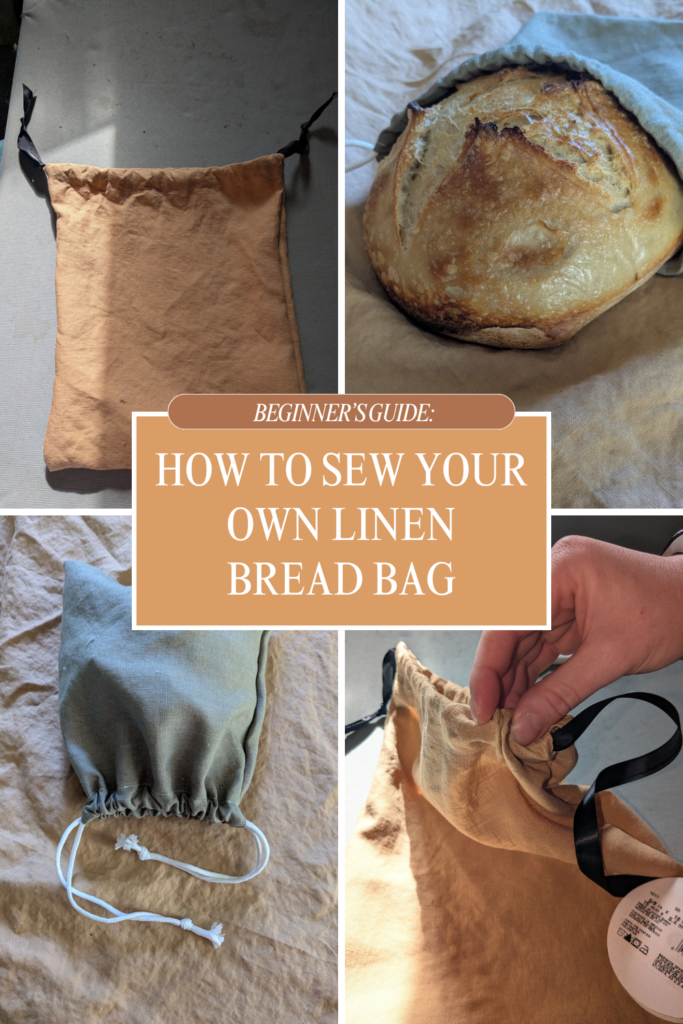
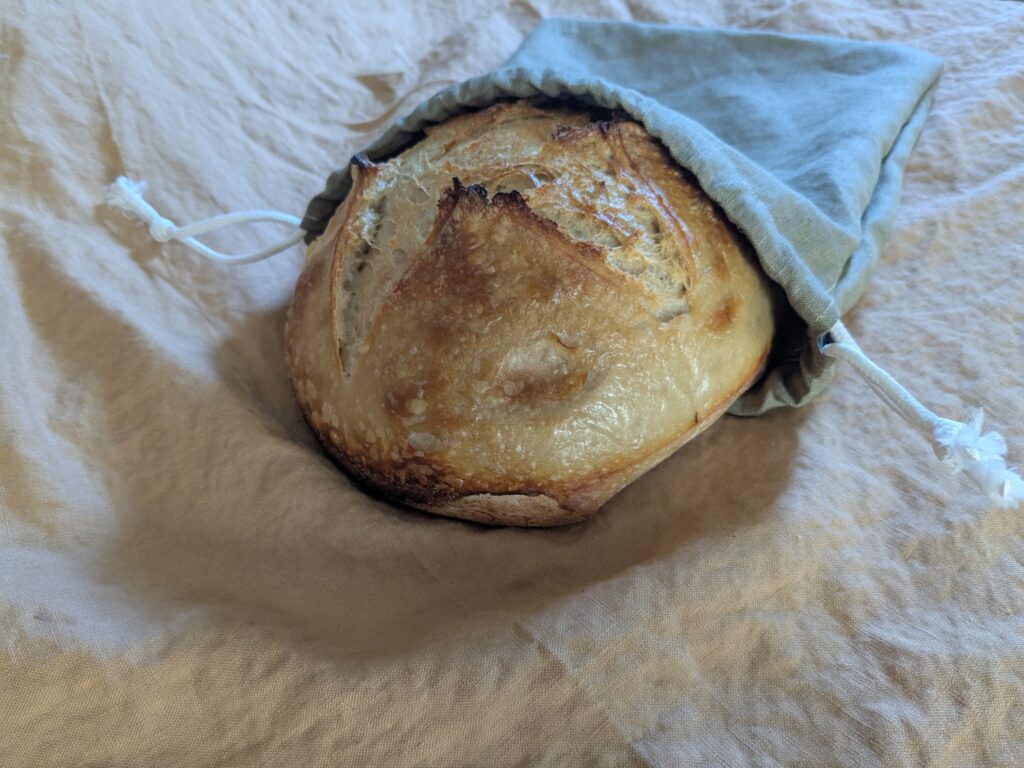
I rent a house with my partner and I do NOT have enough space for a bread box on the counter. In all honesty, we don’t eat a ton of bread so I’m not sure we’ll be able to justify the counter space even when we do own our own property. Because of this, I decided to sew some bread bags from scratch.
The first thing I did is scour my local thrift store for linen napkins, curtains or bedding. Do you know how many people cut off the tags on these pieces of fabric? I could not find any so I went online and bought a yard of 100% linen fabric.
I did consider buying a pre-made linen bread bag from a small artist on Etsy, but I’m currently trading fresh bread for eggs and game meat from my neighbors. For the same price of a pre-made bread bag (~$15) I could buy enough fabric to create four bread bags of my own and that was a better deal for my financial situation.
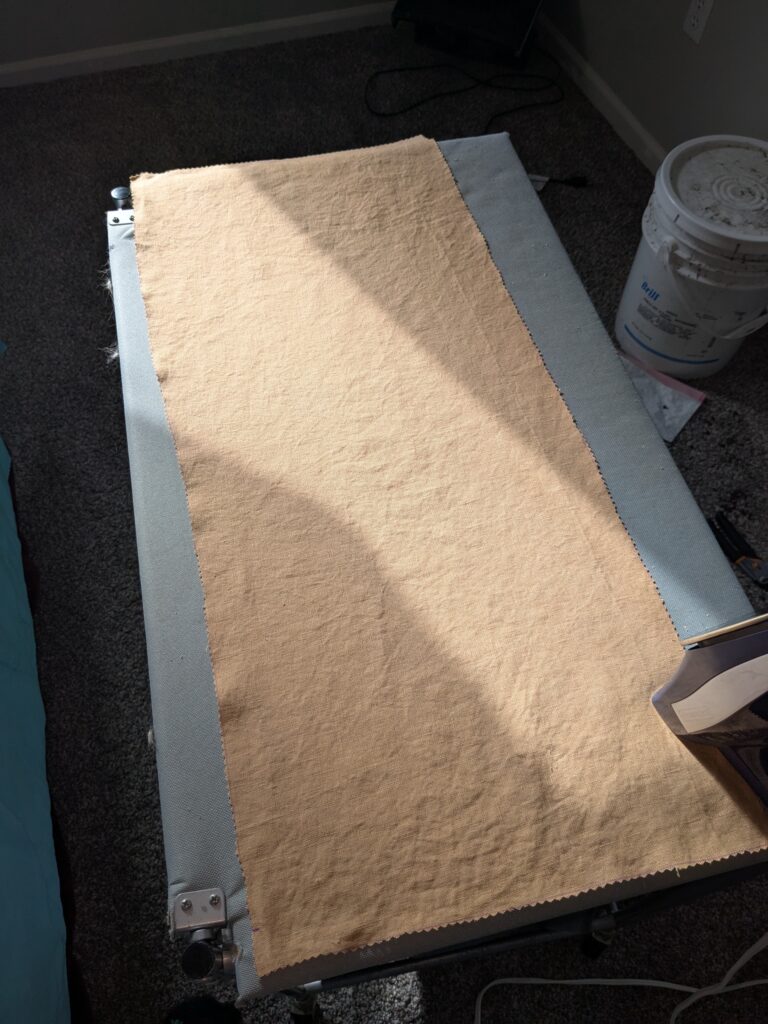
The next thing I did was wash new yard of linen and then cut off the frayed edges with pinking shears.
Finally, I was ready to cut out the material for my bag. I measured my sourdough with an old fabric strip (I couldn’t find my sewing tape measure) and found that it was about 13 inches across. I cut out a piece of linen that was 13 inches by 28 inches and that was the entirety of fabric I needed to create the main body of my bag.
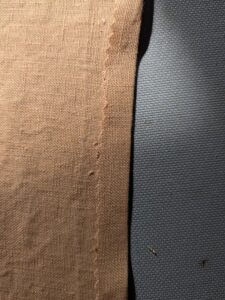
I don’t have a serger and didn’t want to risk the sides of my bag fraying so the first thing I did was fold over 1/2 inch on each of the long sides of my fabric and iron them down. I used a straight stitch to make this fold permanent.
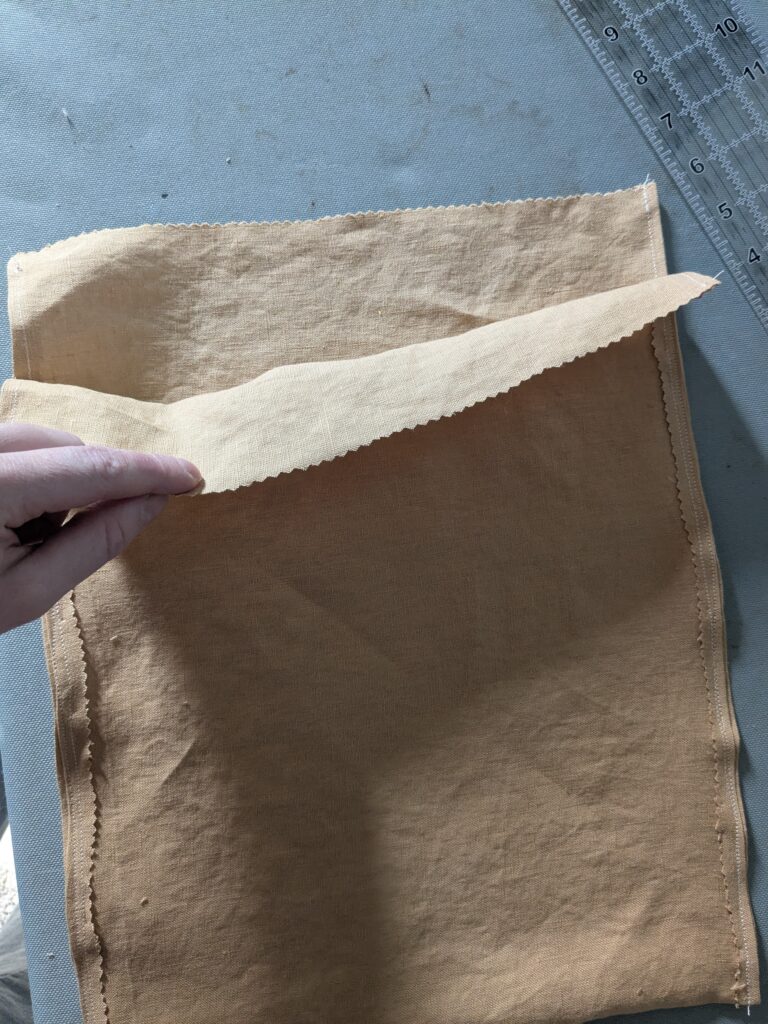
Then I folded my fabric in half long-ways, right sides together, and sewed together the edges leaving 2 inches untouched at the open end of the project.
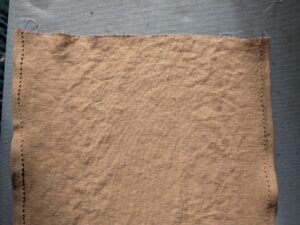
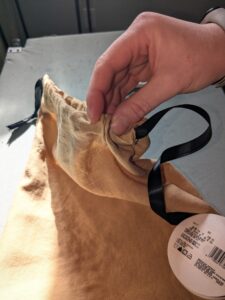
The last step in creating the main body of the bag was folding over the top of the bag and creating a channel to thread a ribbon or other cord through to create a drawstring. I folded the top down at the 1.5 inches mark and used a straight stitch 1 inch below the crease to secure the channel all the way around.
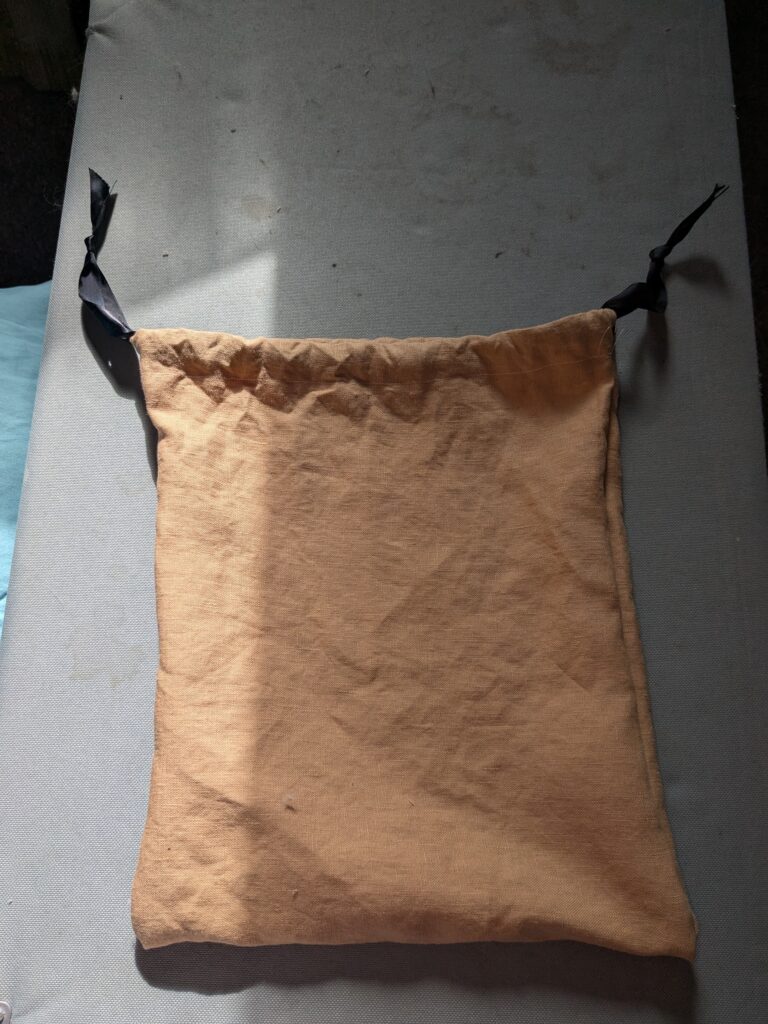
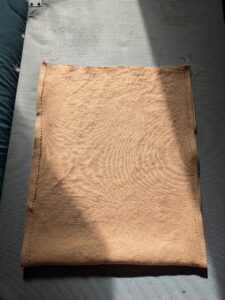
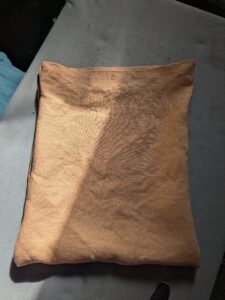
I turned the bag right-side out and the main bag was done!
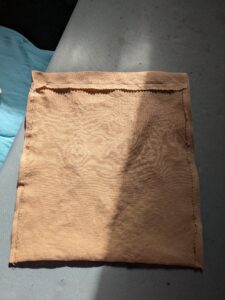
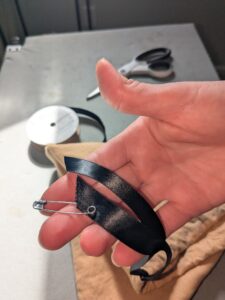
I considered sewing my own bias tape for the drawstring cords, but I ran out of energy so I just used fabric ribbons. You could totally use a cotton clothesline, drawstring or sew your own bias tape instead. With the ribbon, I used a safety pin to easily move it through the channel. I did this twice, one from each side of the bag to create the drawstring effect.
I’m very hopeful that this creation will help keep my bread fresher for longer in the summer, but in the winter it has yet to work. I’ll post another update in the summer months to let you all know. I also plan to try and add beeswax to see if that helps.
For now, I wish you a little bit of chaos as you try this project for yourself.


Online Resources: